


Designed and developed in the United Kingdom
Designed and developed in the UK
Floating Shelf Brackets Installation Guide

Step 1. Please read the Safety Guidelines stated above before you start assembling the product. Start by placing masking tape on the wall where you are planning on positioning your new shelf. Next, use the spirit level to mark a straight live across the masking tape with your pencil.

Step 2. Using your tape measure, find the centre points of the holes on the rear of the shelf, and then mark these points on to your previously-drawn line.
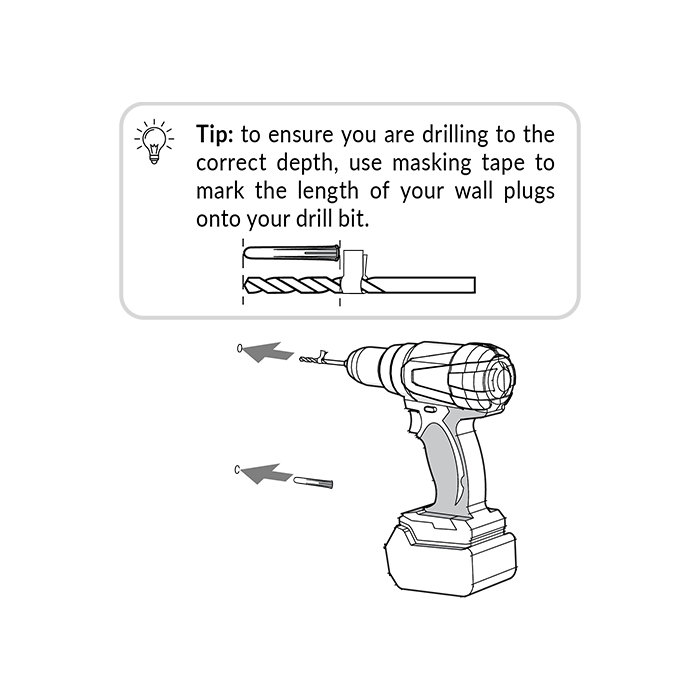
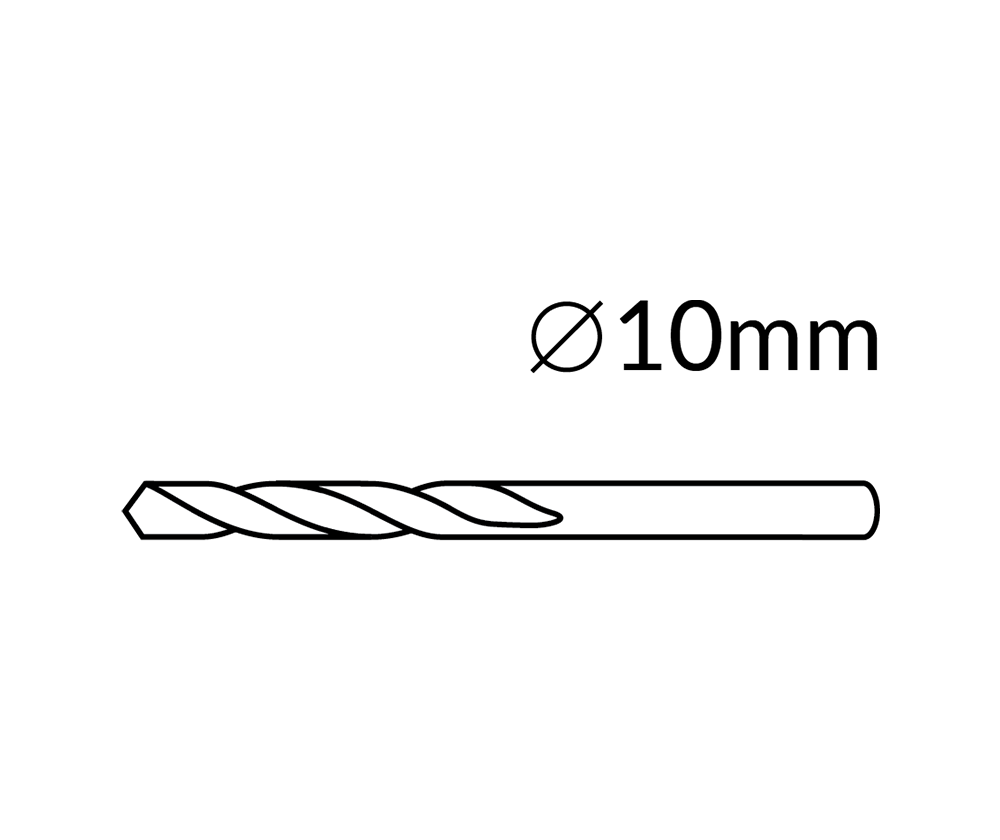
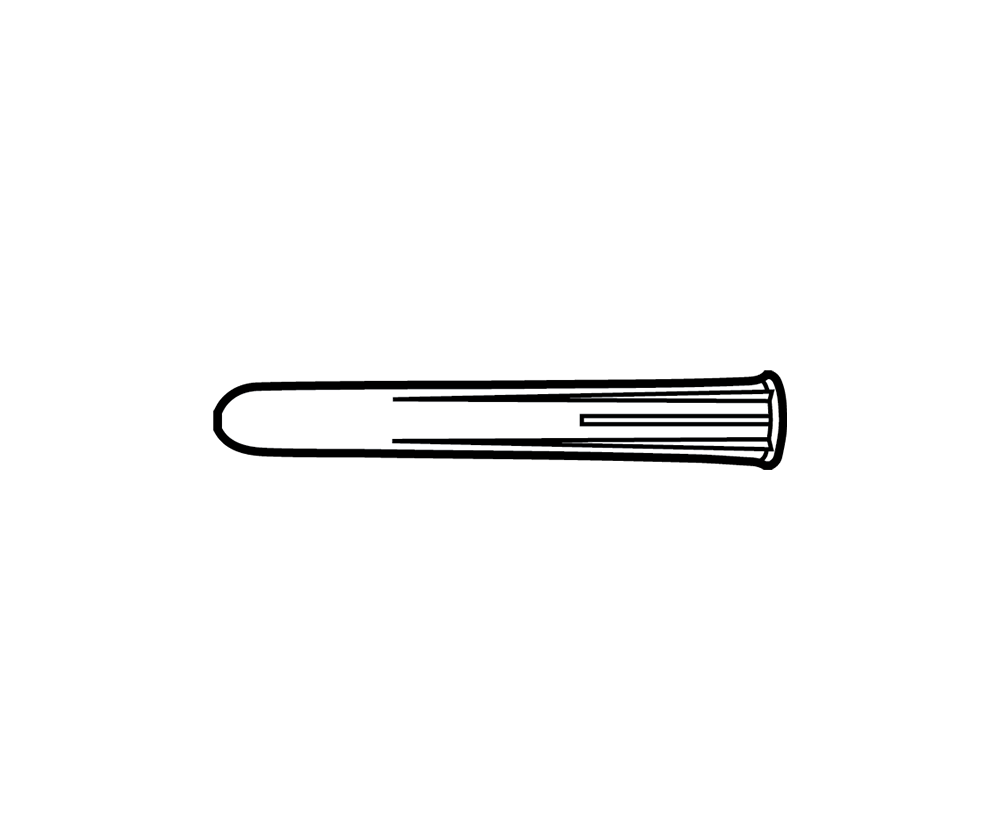
Step 3. Insert your 10mm masonry drill bit in to the drill and make sure it is held in tightly. Be sure to use eye-protection, then drill a hole of 70mm deep at each point marked. Ensure the drill is straight and that you apply pressure evenly when drilling. Insert the plastic wall-plug included with the bracket into the holes you've drilled and pish in to the wall until flush.
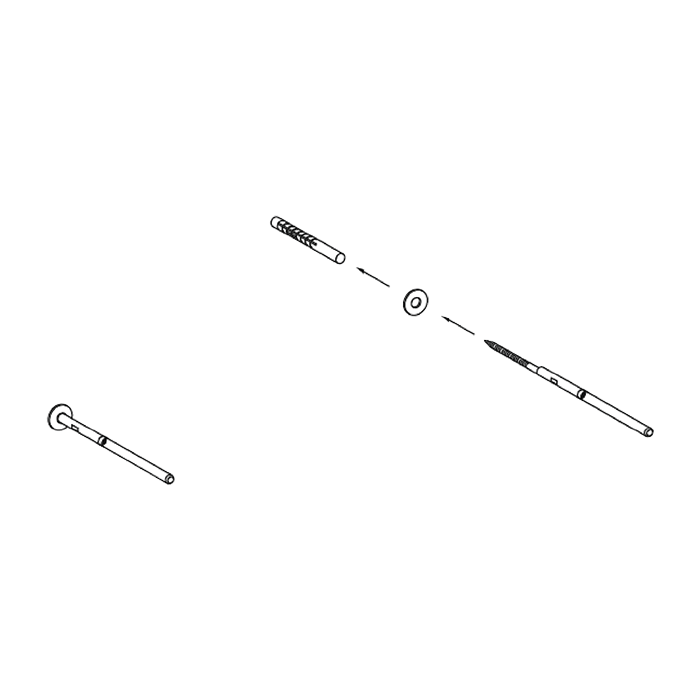
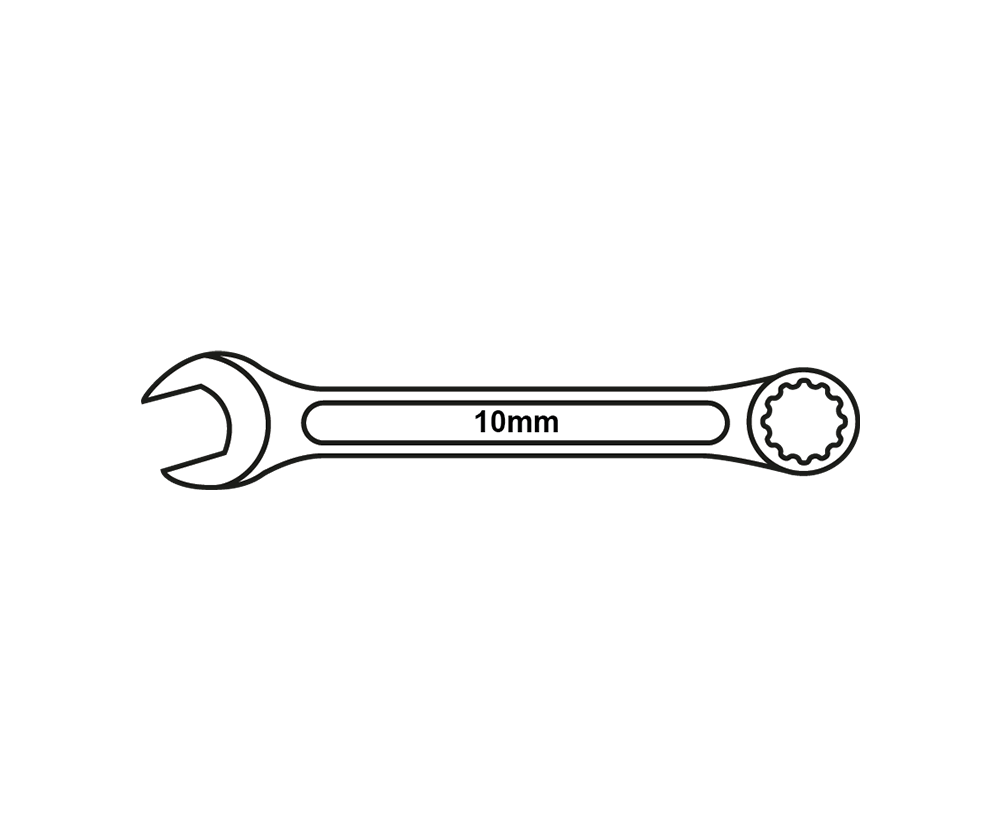
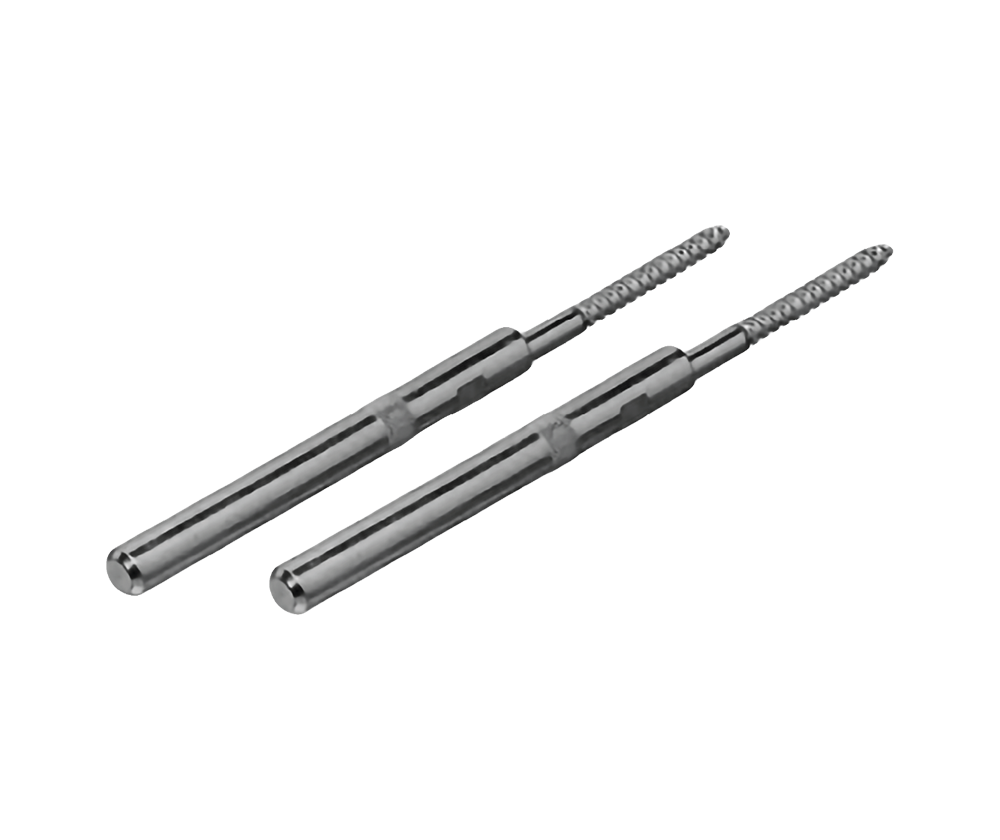
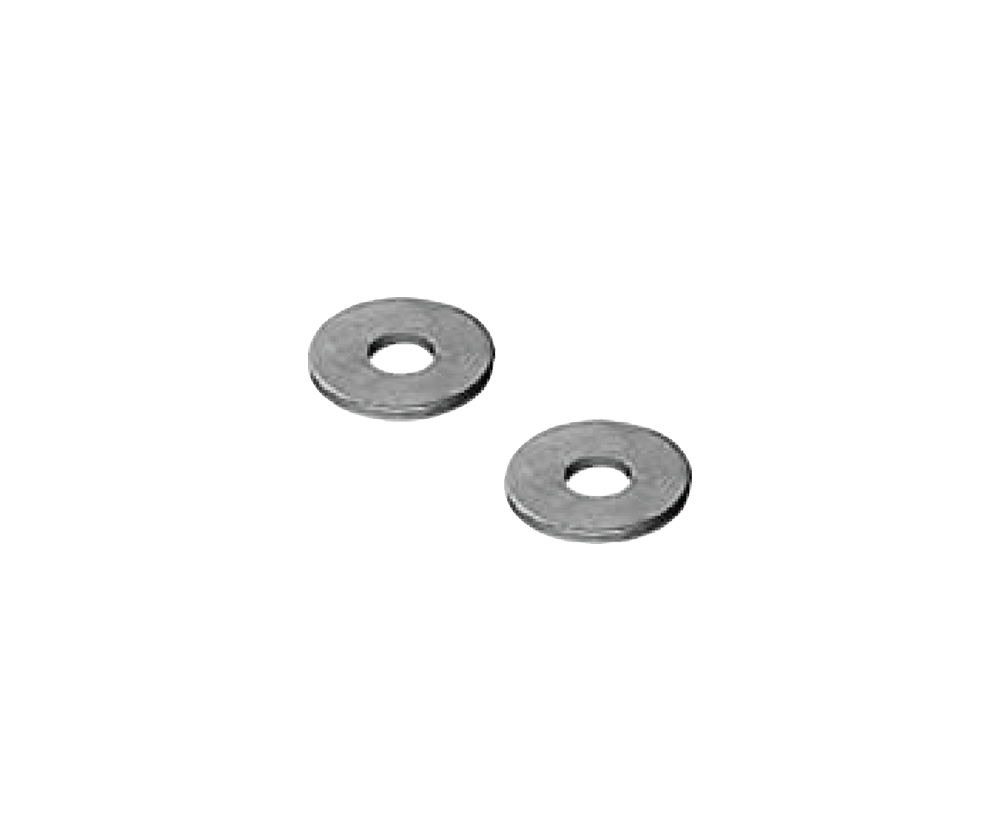
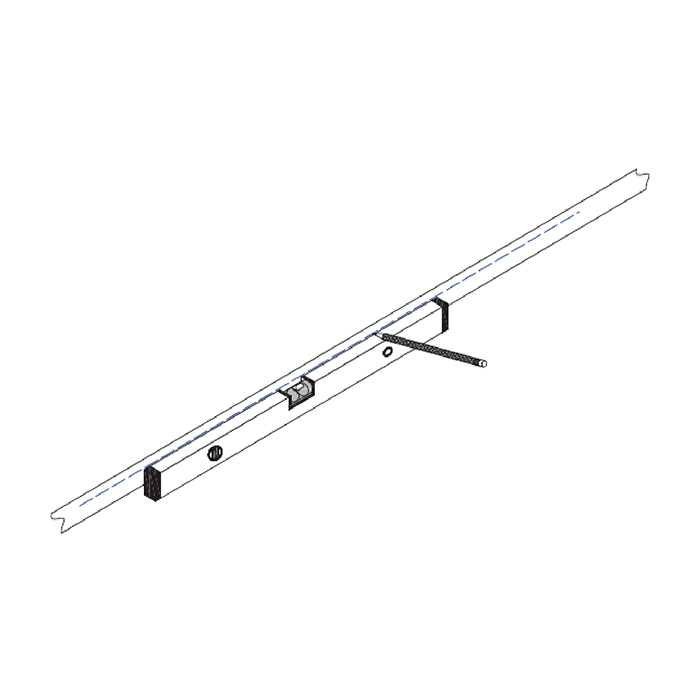
Step 4. Next, put the washer onto the screw-end of the shelf brackets, and then insert the supports in to the holes, using a spanner to tighten them up sufficiently. (¹)
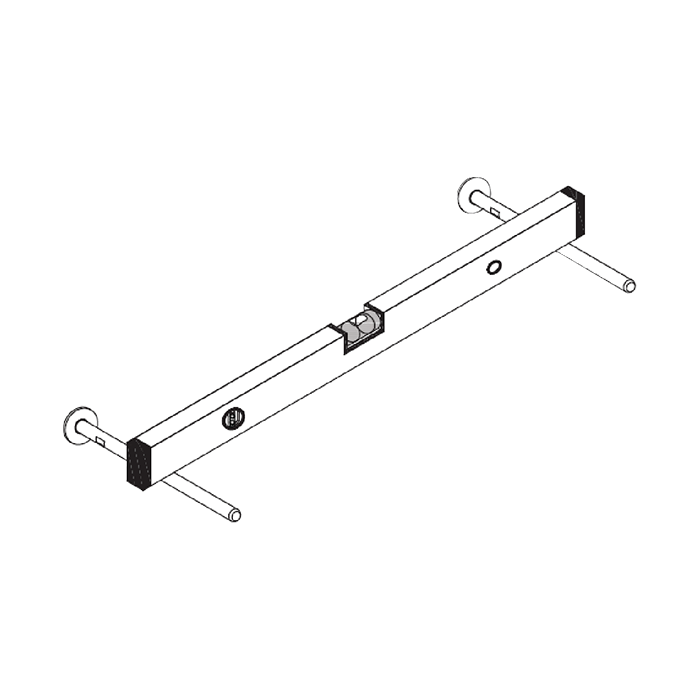
Step 5. Use a spirit level to ensure that the brackets are pointing out of the wall straight and horizontally, so that you can be sure your shelf will sit flat.
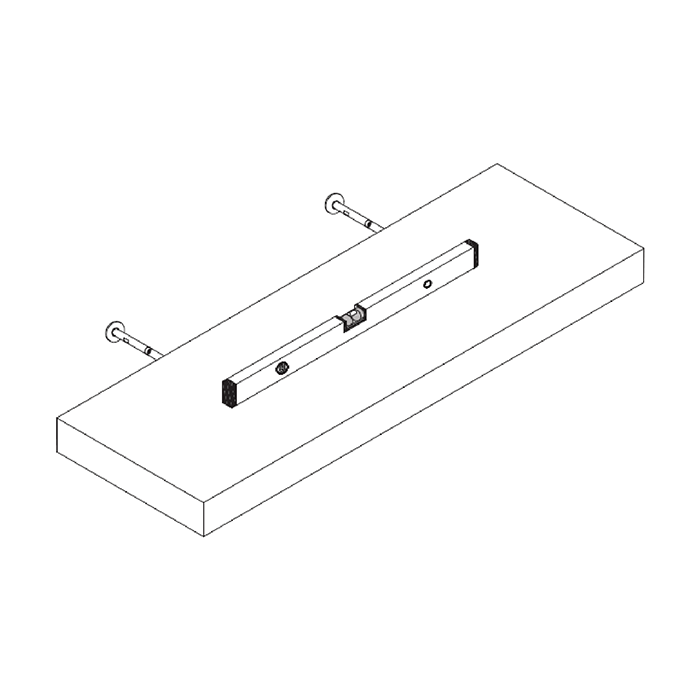
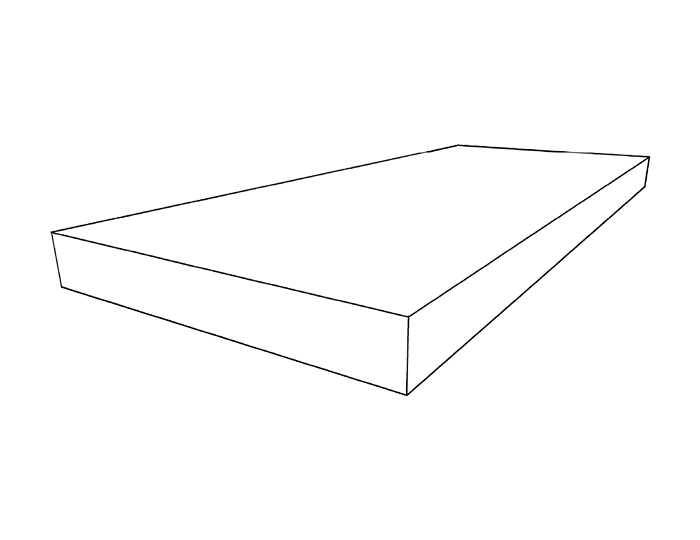
Step 6. Finally, you're ready to push the shelf on to the brackets. Take care, proceed slowly and check once more with the spirit level to ensure that your shelf is flat.
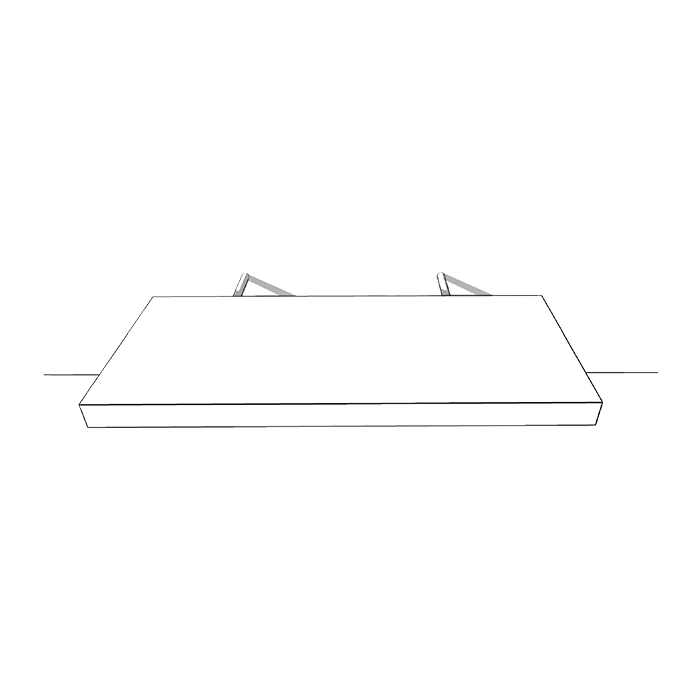
Step 7. Gently push the shelf towards the wall, applying even pressure in order to keep it parallel to the wall until it reaches its final position.
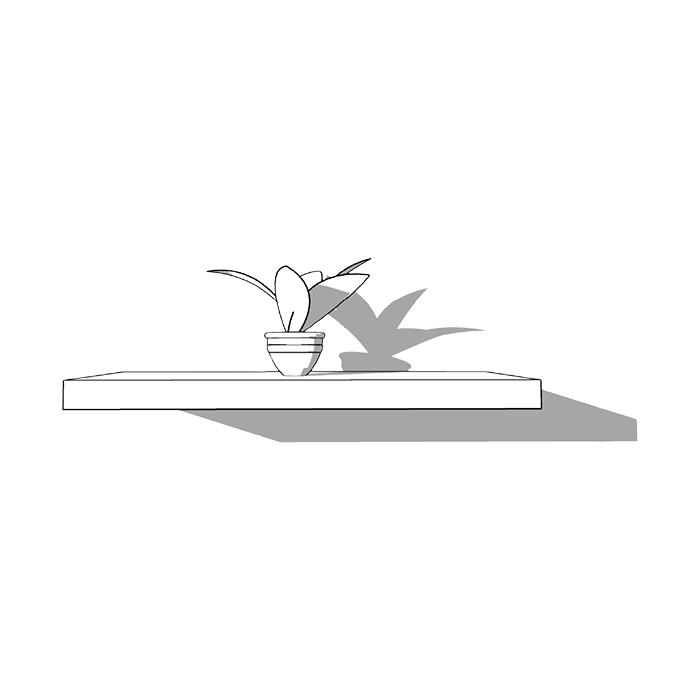
Now, take a step back and admire your new purchase!
(¹) Please note: The supplied brackets are designed for installation into masonry, concrete block, or timber stud walls only. Ensure that you line up the supports with the studs wherever possible for secure fixing. Please take care when installing to ensure that the shelves are mounted at suitable and safe heights (particularly in areas that children may frequent). Similarly, if you feel there is a possibility that you will be storing moderately heavy items on the shelving, or that these will be placed in areas utilised by children, we recommend purchasing additional oak battens for extra support.
Responsibly sourced, thoughtfully made
We partner with Ecologi to support verified climate projects, including global tree-planting initiatives.
Together with our community of customers, we fund the planting of one tree for every order placed.
Our approach to sustainability is simple: use solid wood responsibly, minimise waste, and make products designed to last - so they don’t need replacing.
Trees funded through domli orders to date
LEARN MOREI absolutely love my sit to stand desk!
"It was a smooth process from browsing through the product choices on the website to using my sit to stand desk at home. I absolutely love my desk. It works great, quiet, very strong, and is really well made of high quality materials."
Great table and good service
"Really easy to order and description detailed and kept informed and quick delivery. Care taken with the delivery and table arrived in perfect condition. Easy to assemble."
Don't go anywhere else !
"I have spent some time looking around at oak worktops and am an avid reader of reviews, Domli had been recommended to me and I couldn't find any other company that could match their prices AND have such great reviews."
Great quality
"Delighted with our oak shelf. Brackets set it off beautifully. It is a piece of furniture in its own right."
Very quick delivery
"Bistro table and oak chair are lovely. Really a quality product built to last at an excellent price. Would highly recommend this company"