





Designed and developed in the United Kingdom
Designed and developed in the UK
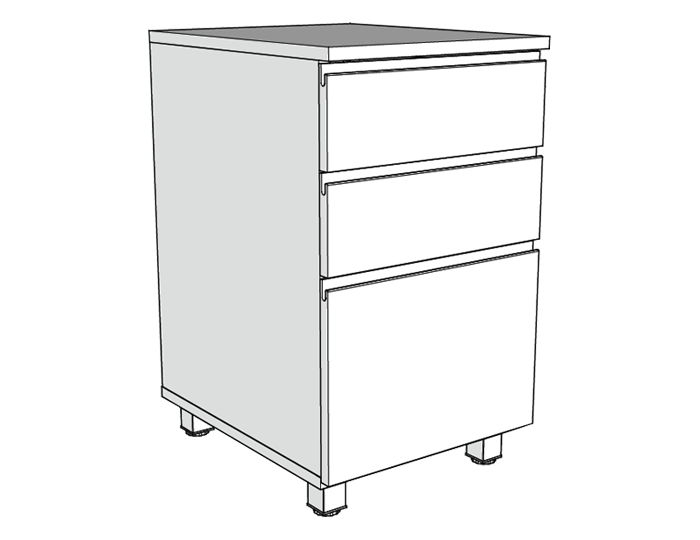
Solid Oak Desk Height Three Drawer Unit Installation Guide

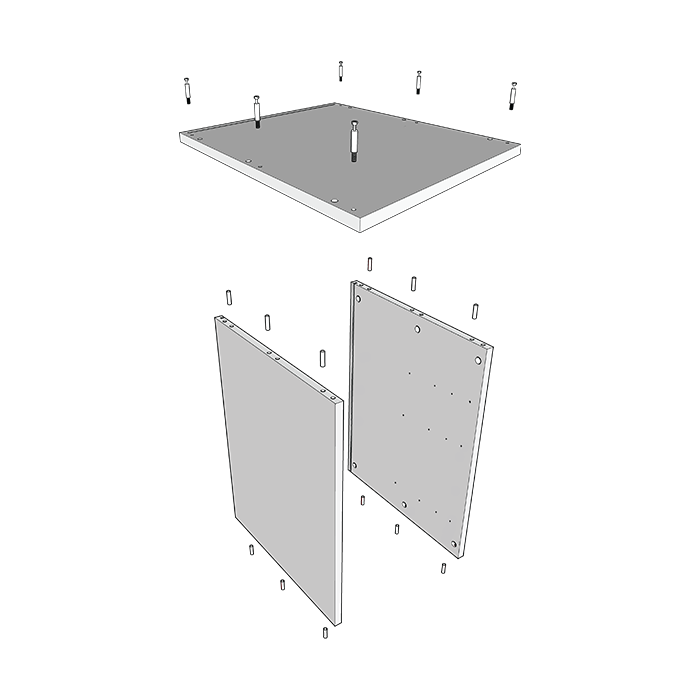
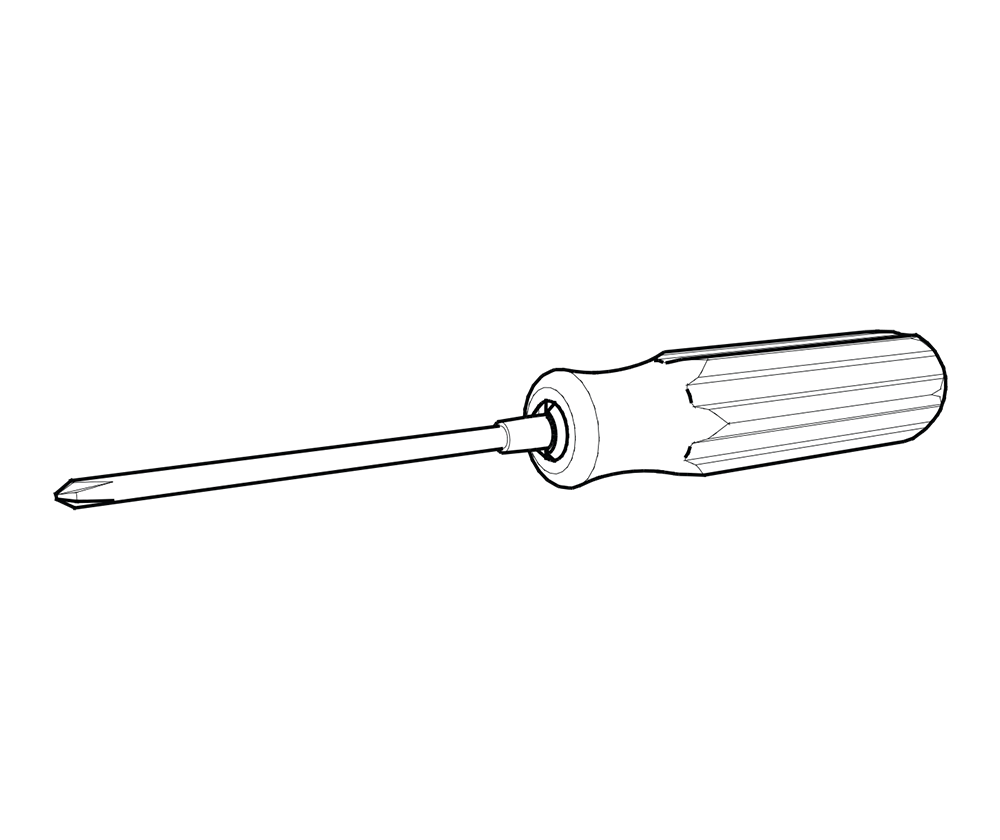
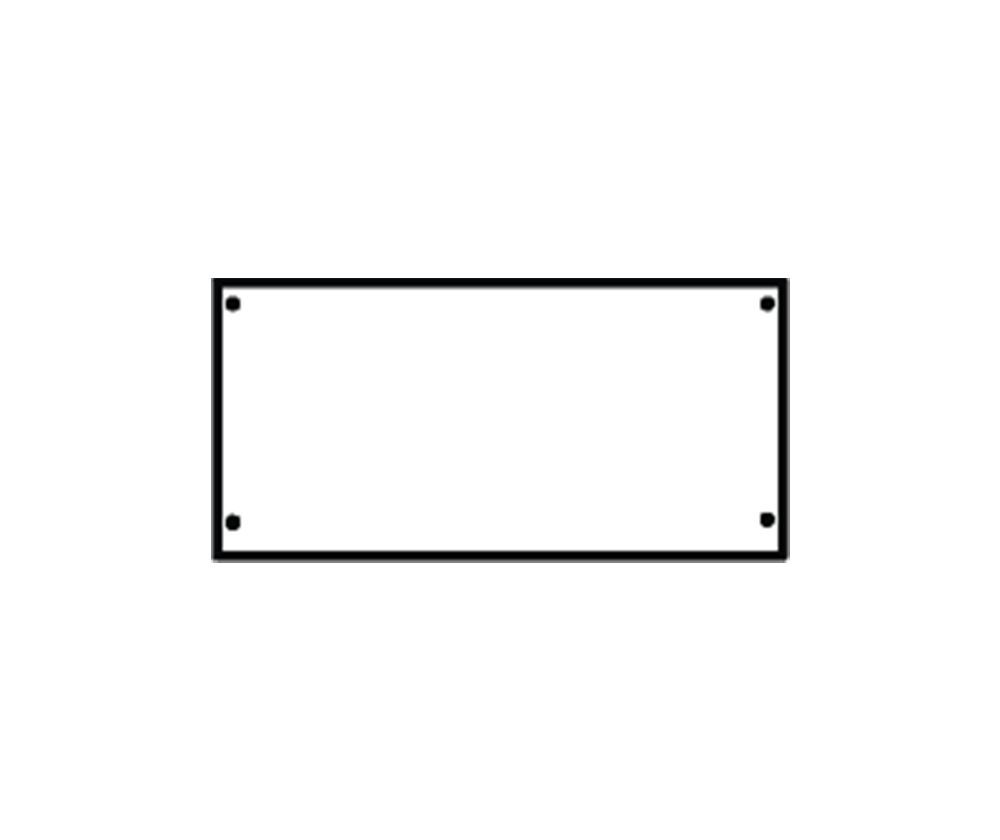
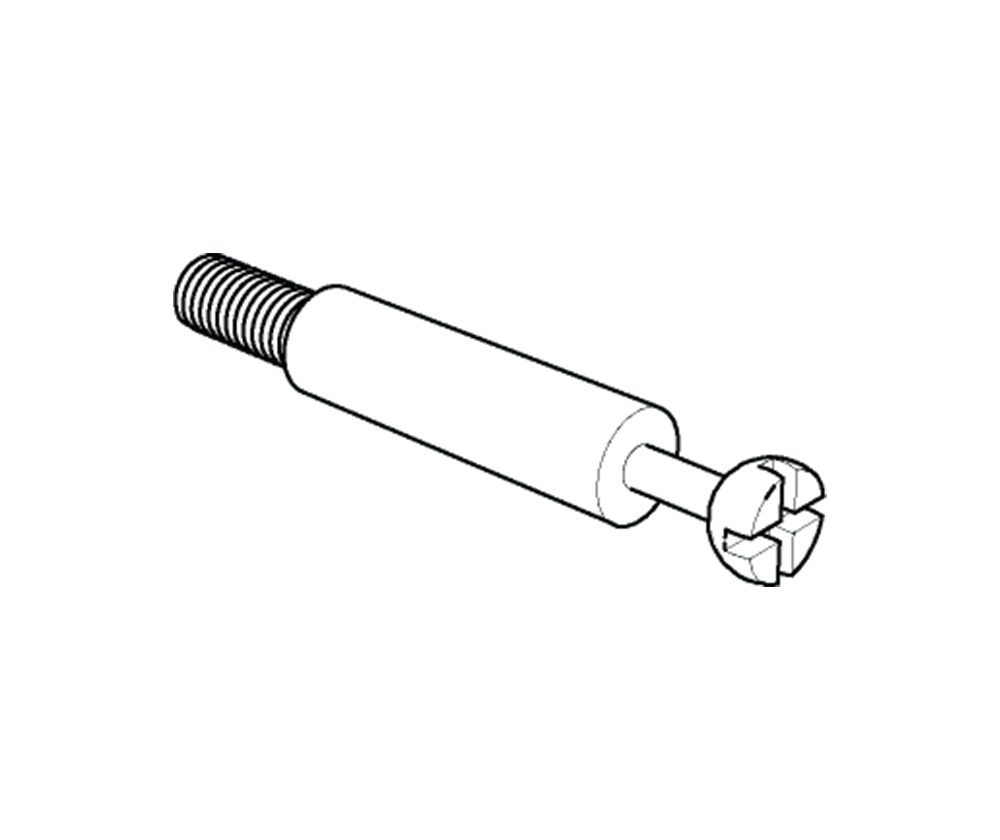
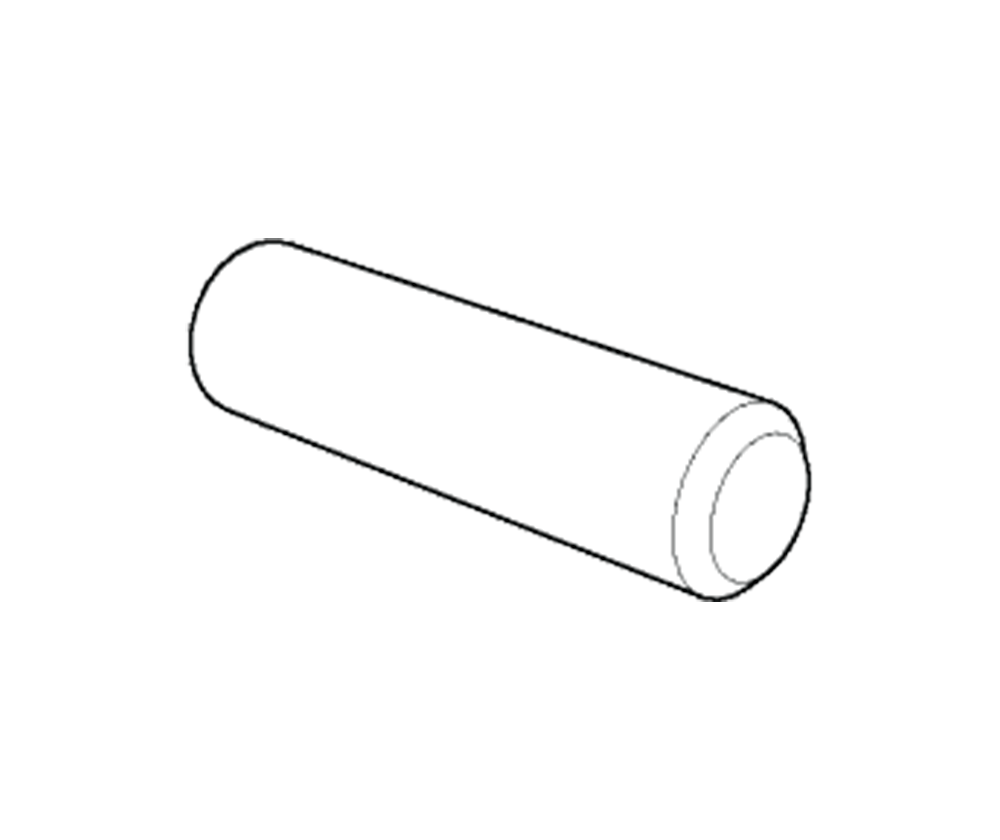
Step 1. Please read the safety guidelines stated above before you start to assemble the product. Insert the metal dowels in the bottom and tighten them with a cross-head screwdriver until the threaded part is completely hidden. Do no over tighten the fittings.
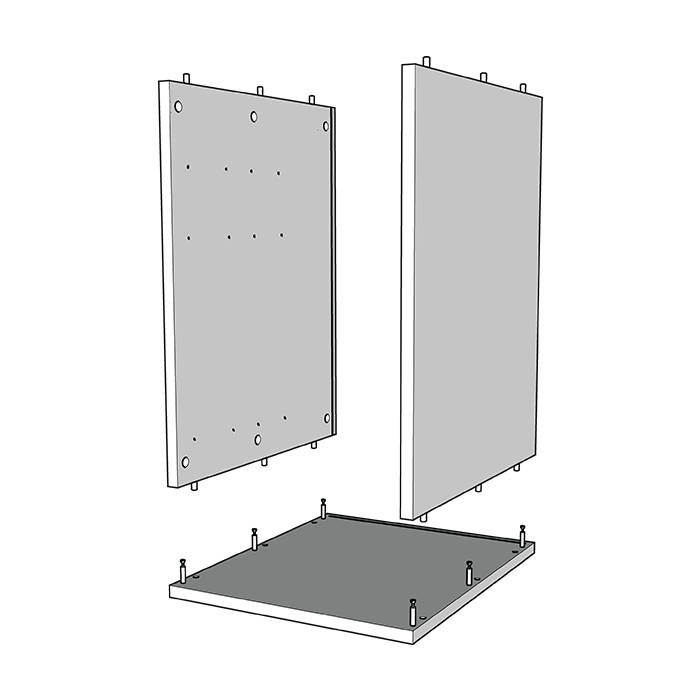
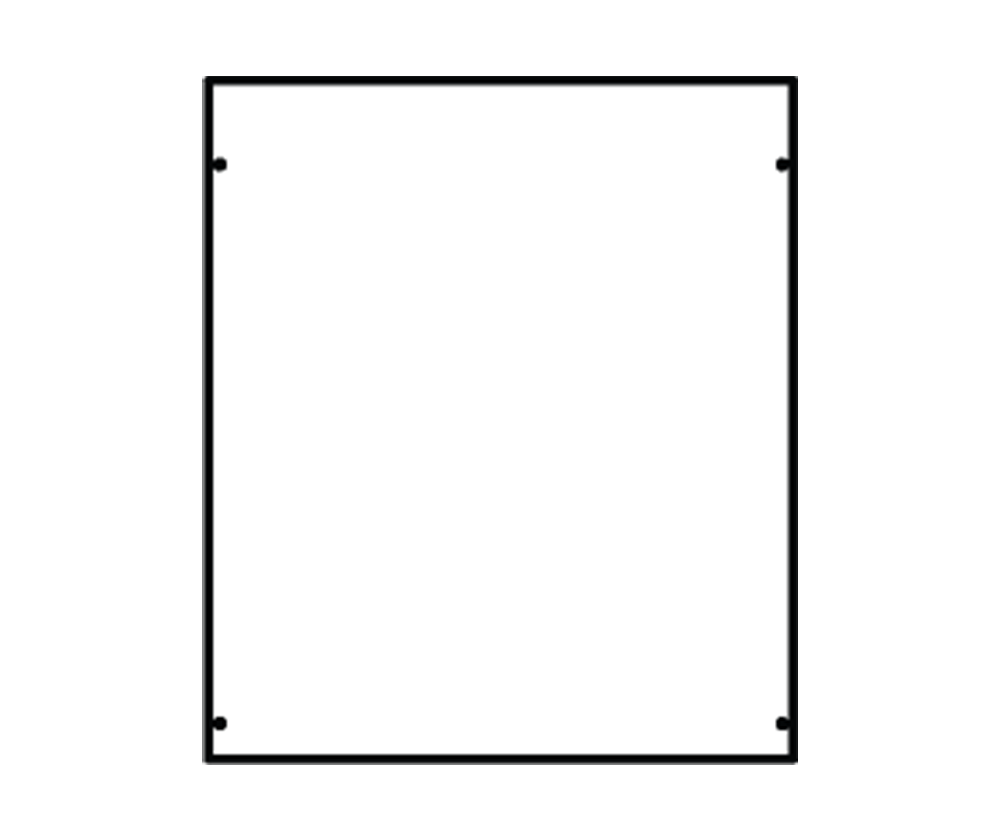
Step 2. Connect the two side panels with the bottom panel making sure that all the metal dowels are correctly aligned with the corresponding side panels.
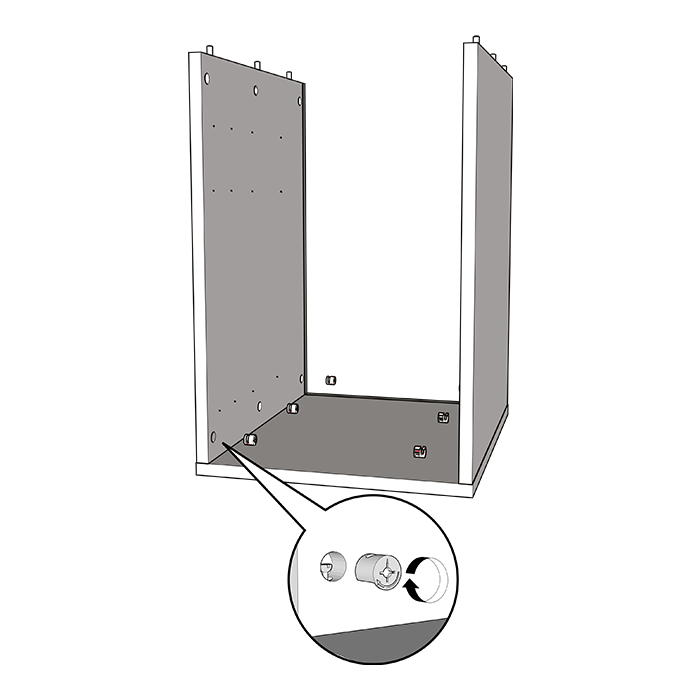
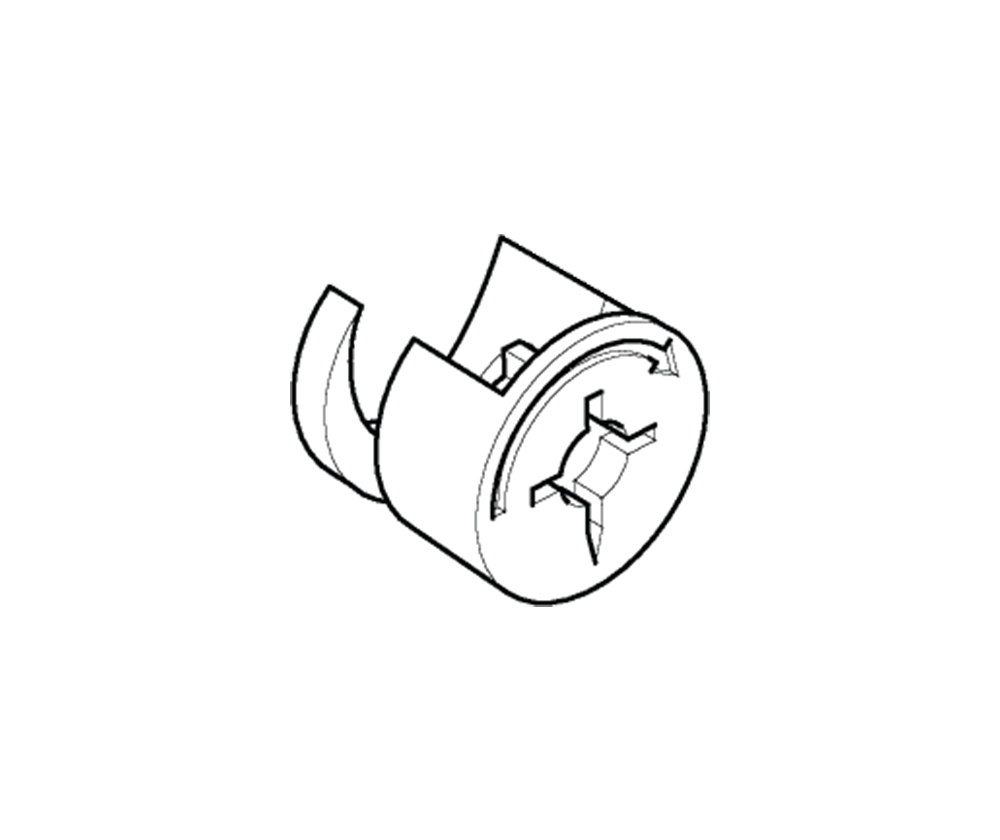
Step 3. Insert the cam locks in the side panel holes, making sure they are flush with the panel surface and tighten them by rotating them clockwise with a cross-head screwdriver.
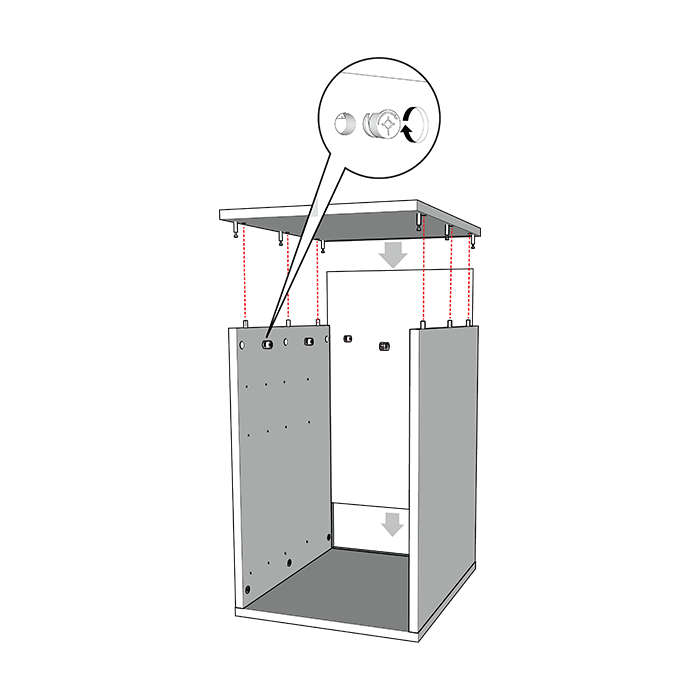
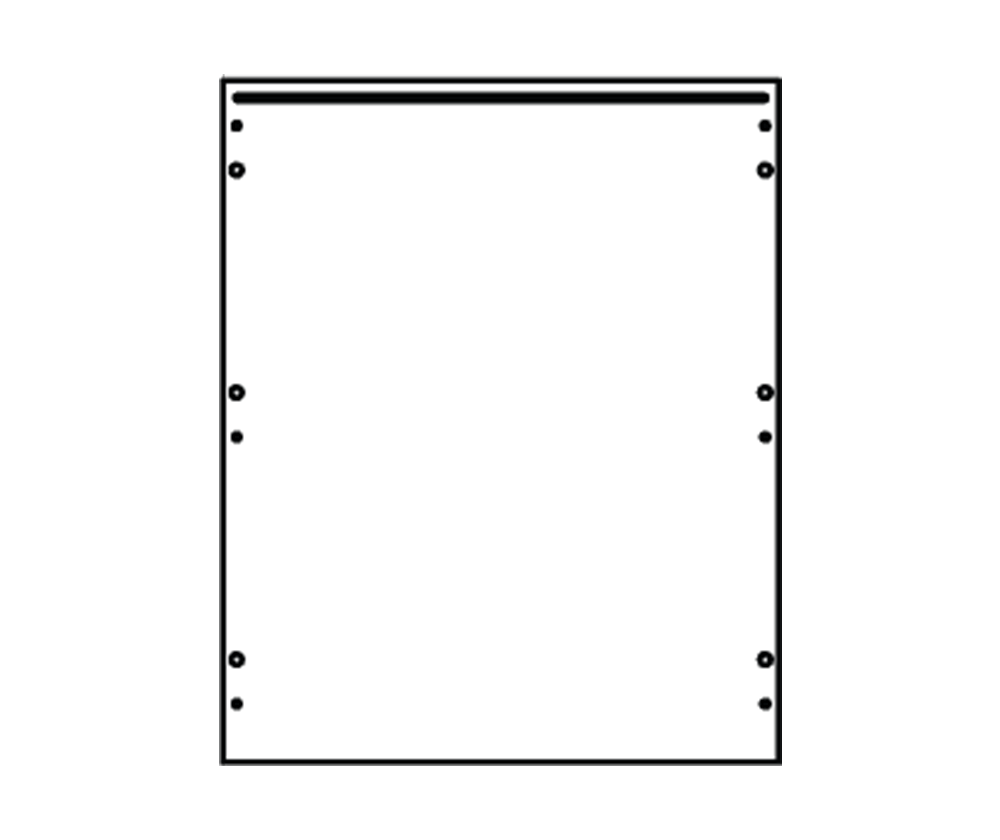
Step 4. The back panel slides into grooves in the sides and top shelf. Orient it with the nice side facing inside of the cabinet, and slide it into the grooves as shown. Fit the top panel by gently pushing it into place, making sure all the metal dowels are correctly aligned with the corresponding holes and lock it in place using the cam locks provided.
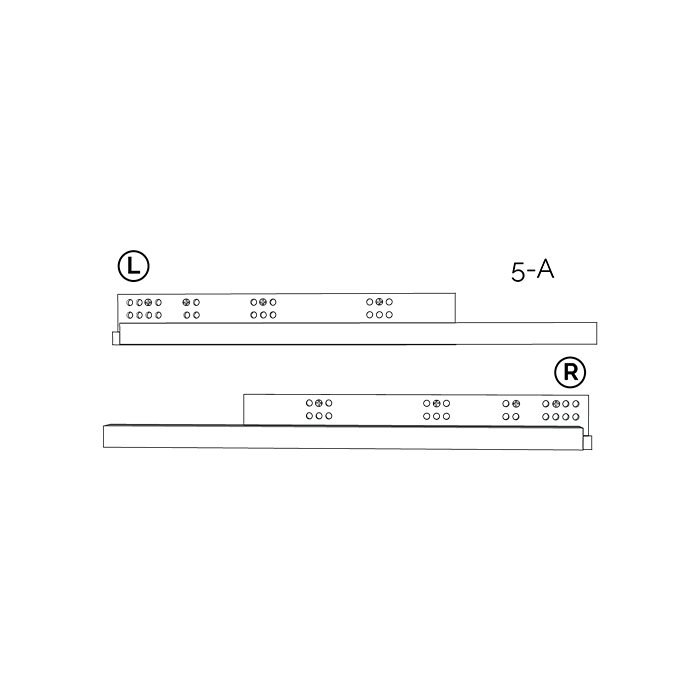
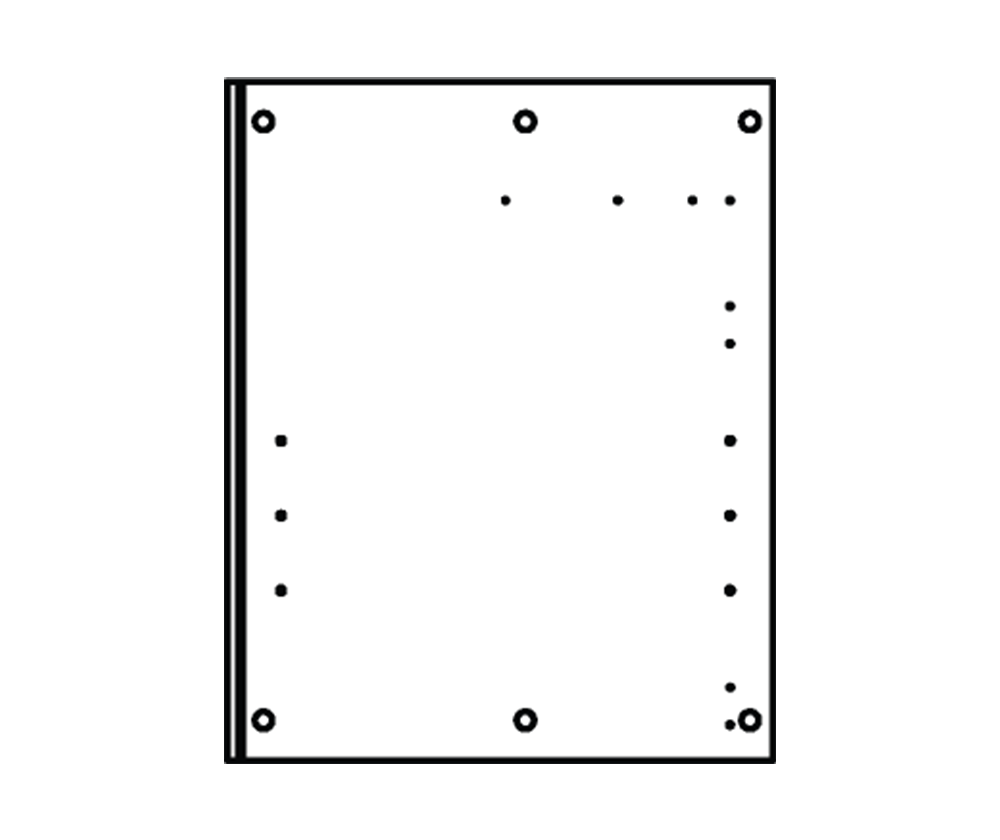
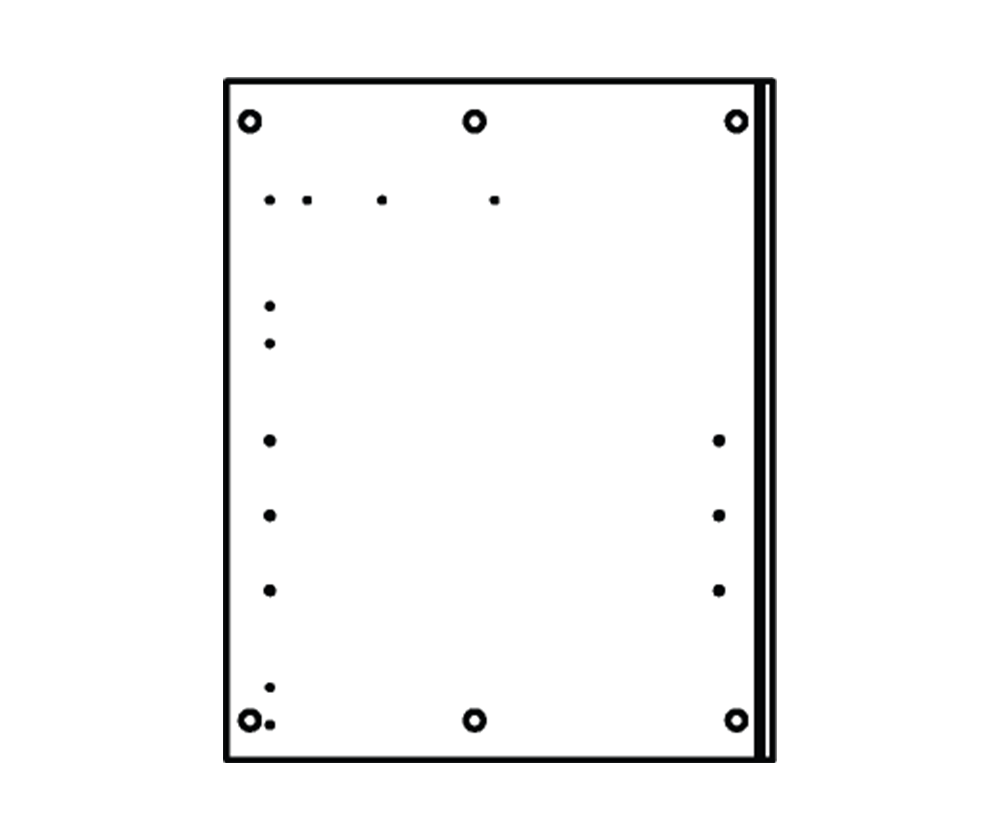
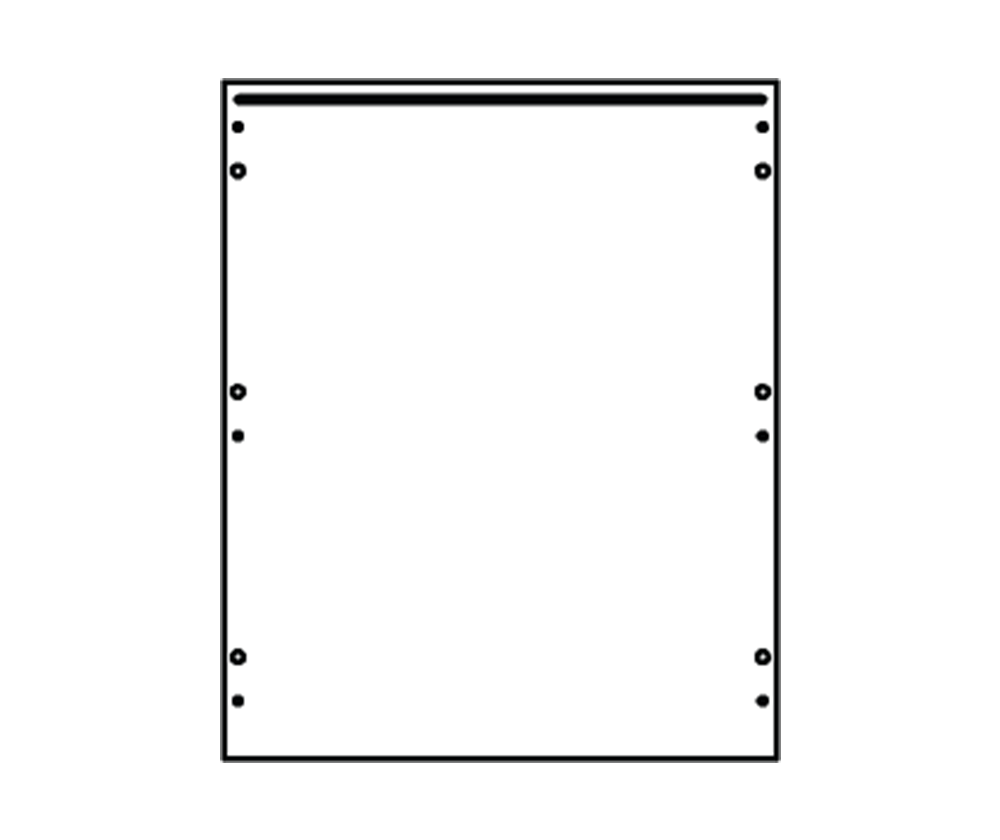
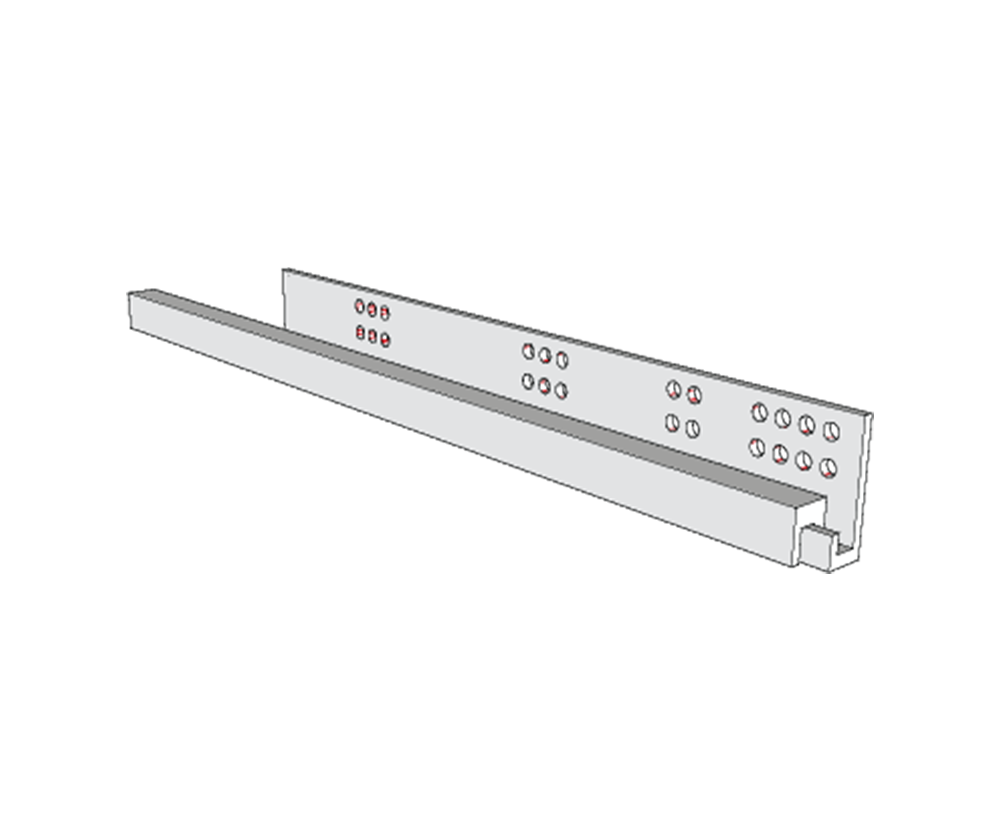
Step 5a. Fit the drawer slides using the hole pattern in the image and fitting them to the side panels pre drilled holes.
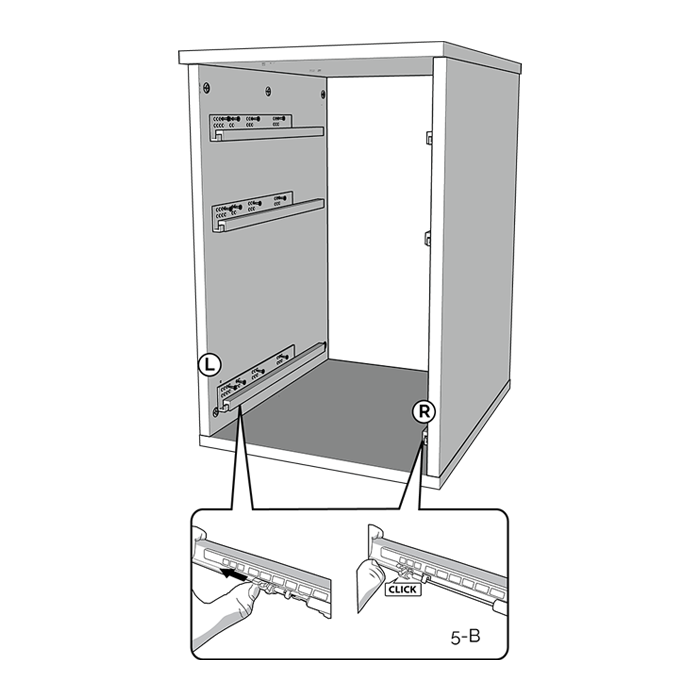
Step 5b. Make sure the soft close mechanism is in the correct extended position before installing the drawers. Here's how it should be.
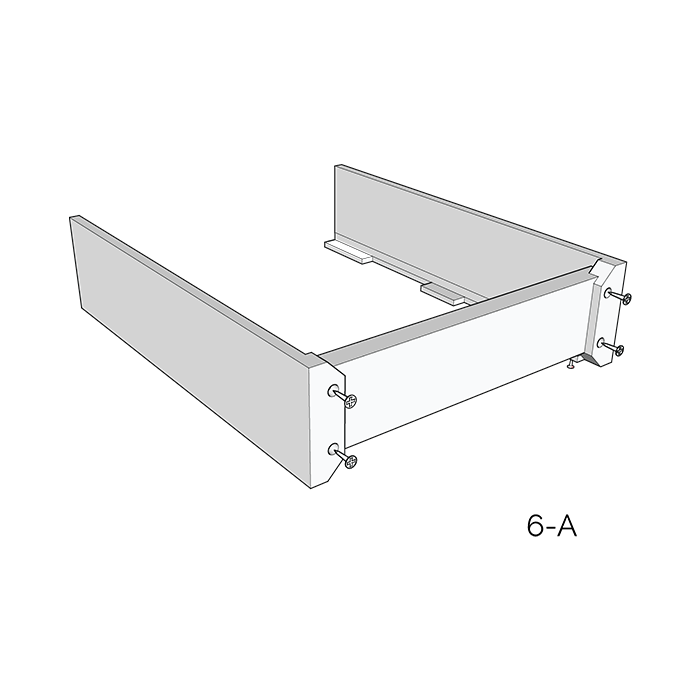
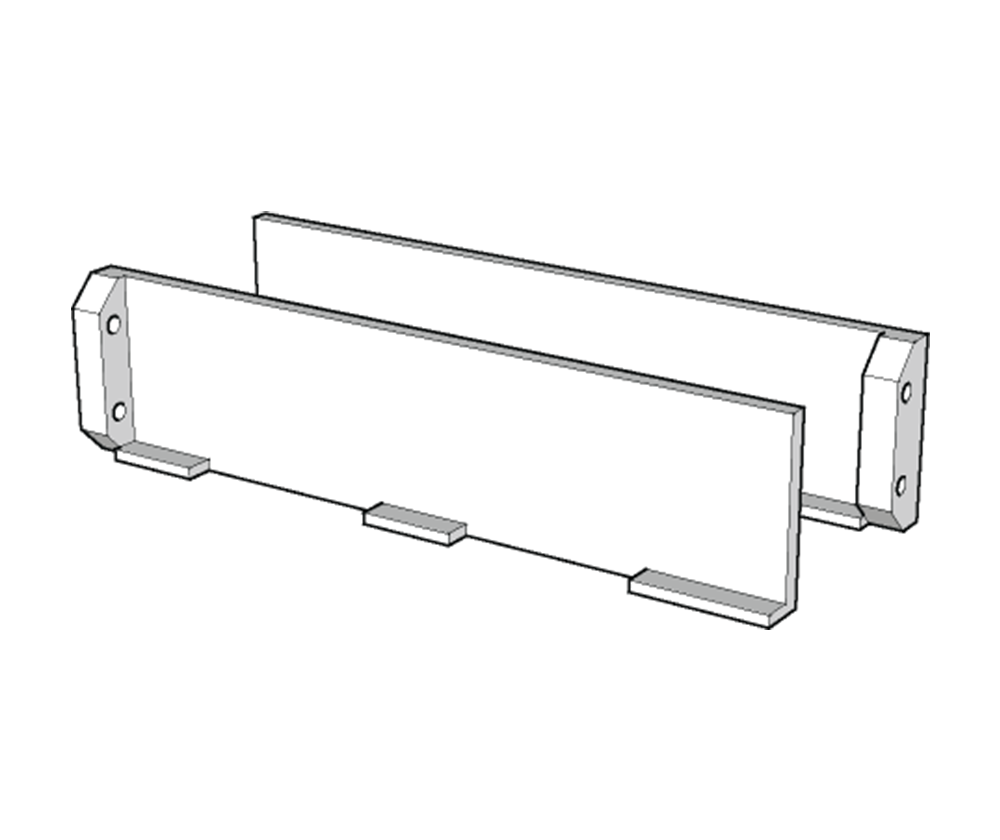
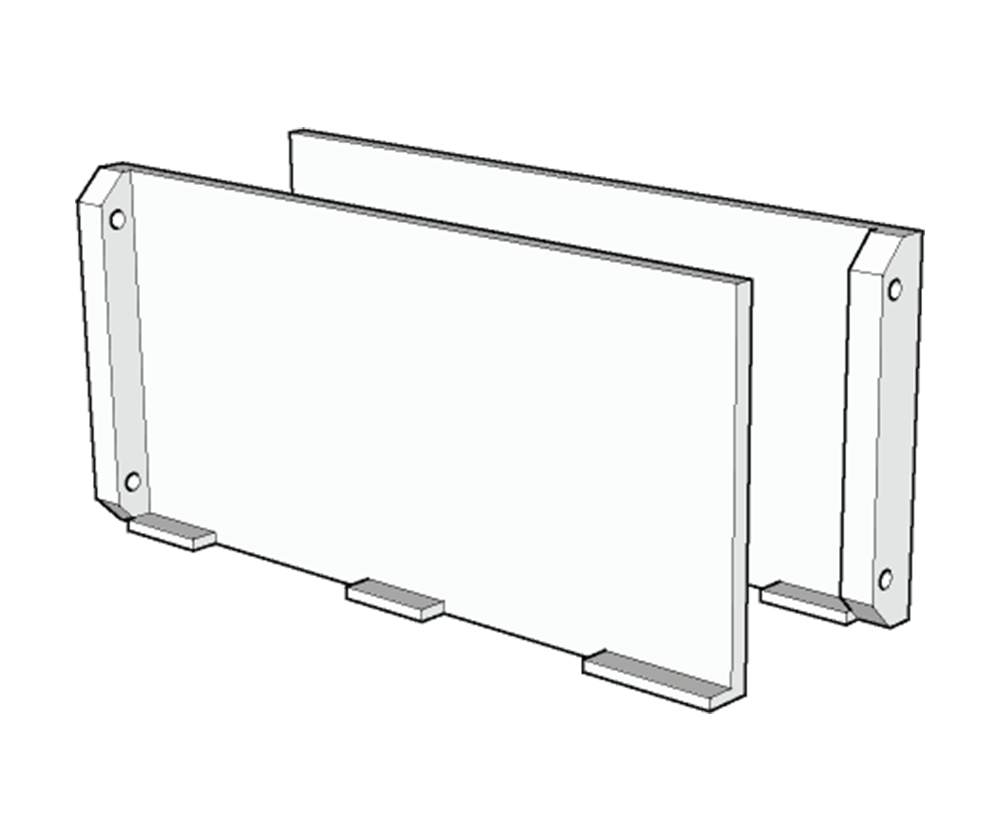
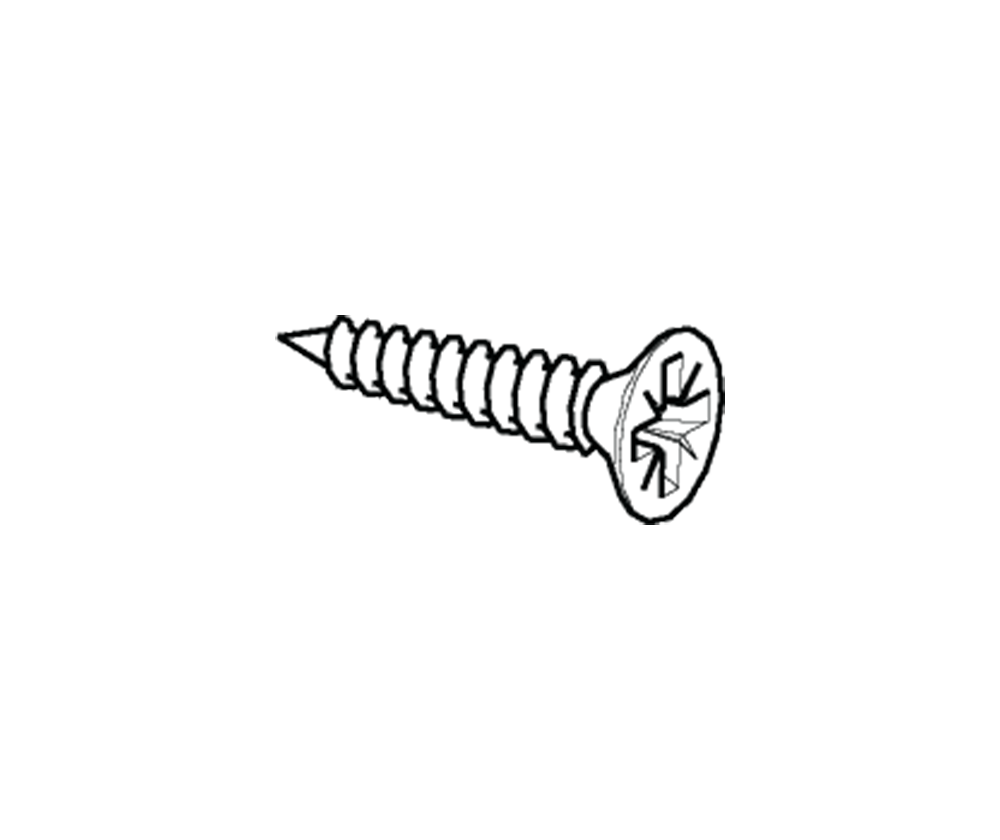
Step 6a. Attach the drawer sides to the drawer back panel with the provided screws.
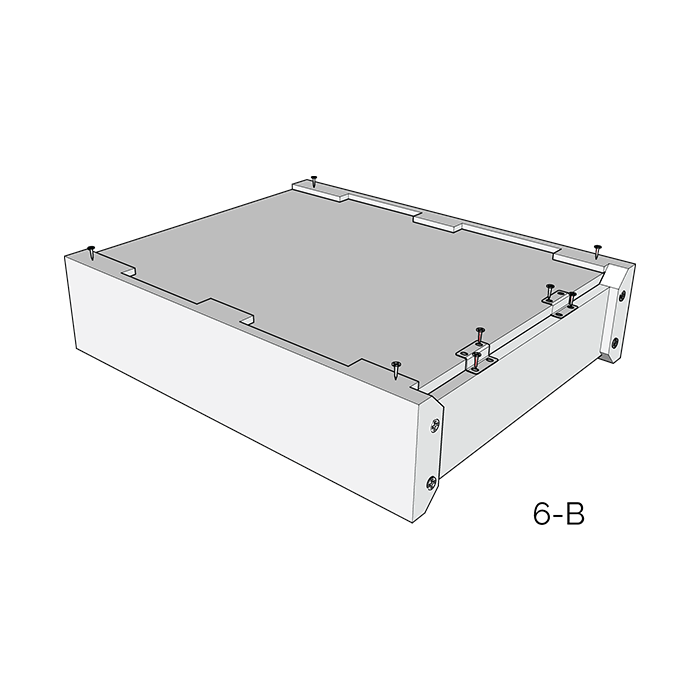
Step 6b. Attach the bottom panel with the provided screws and secure it to the back with the drawer back brackets.
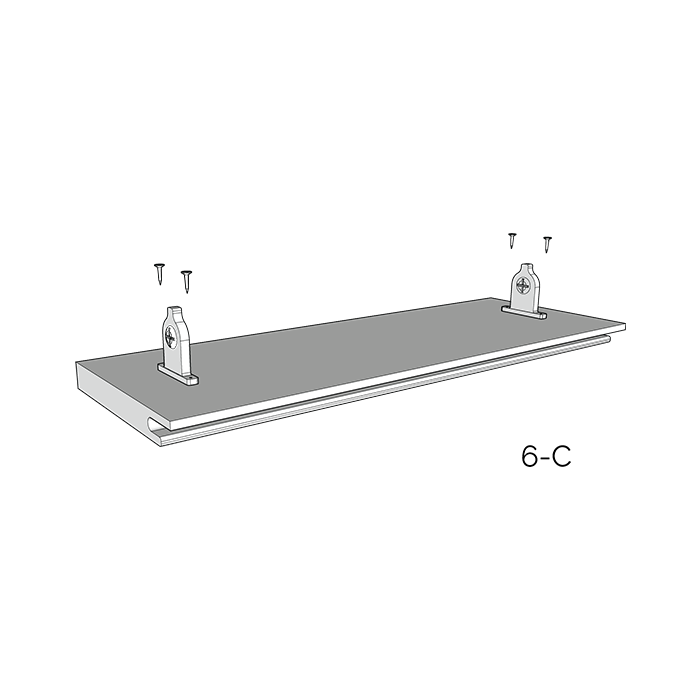
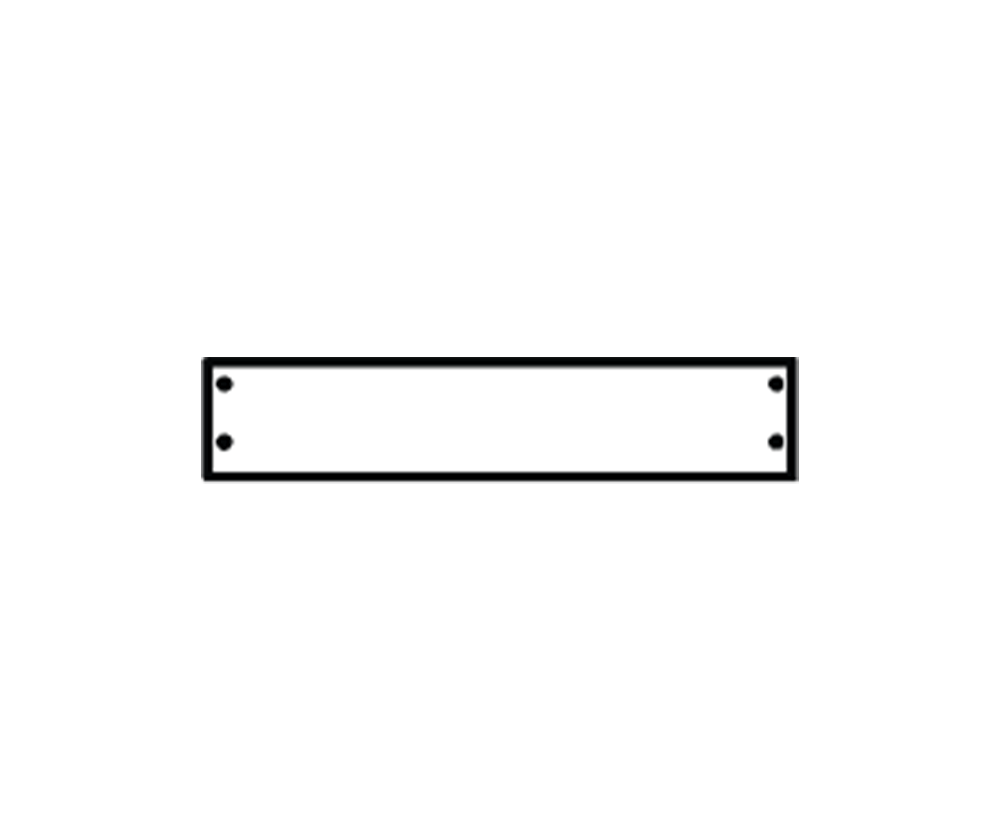
Step 6c. Attach the drawer front brackets to the drawer front panel with the provided screws. The drawer front panel is pre-drilled in the correct positions.
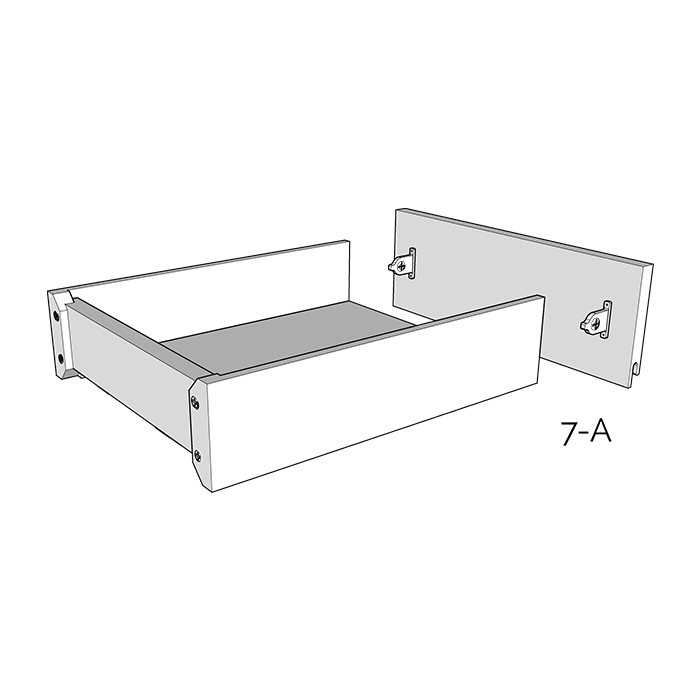
Step 7a. Attach the drawer front panel to the drawer assembly by aligning the drawer front brackets with the drawer sides and push forward until the front panel clicks into place.
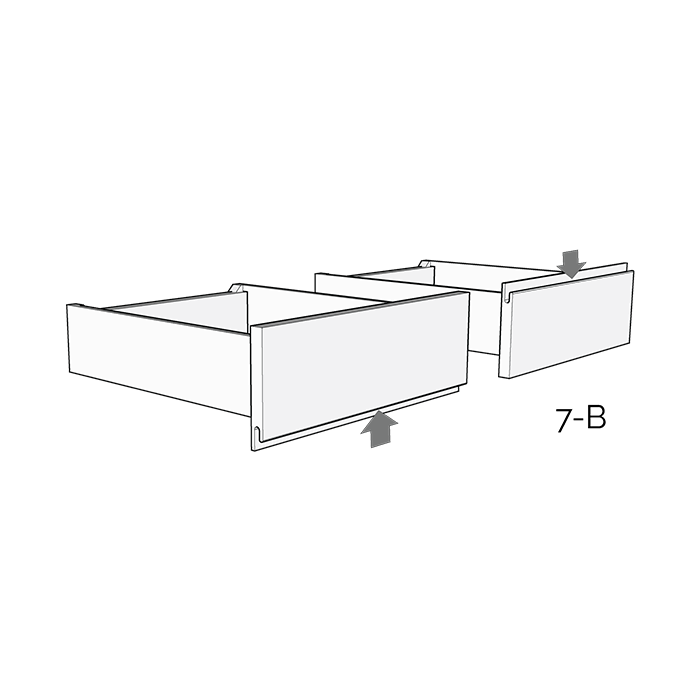
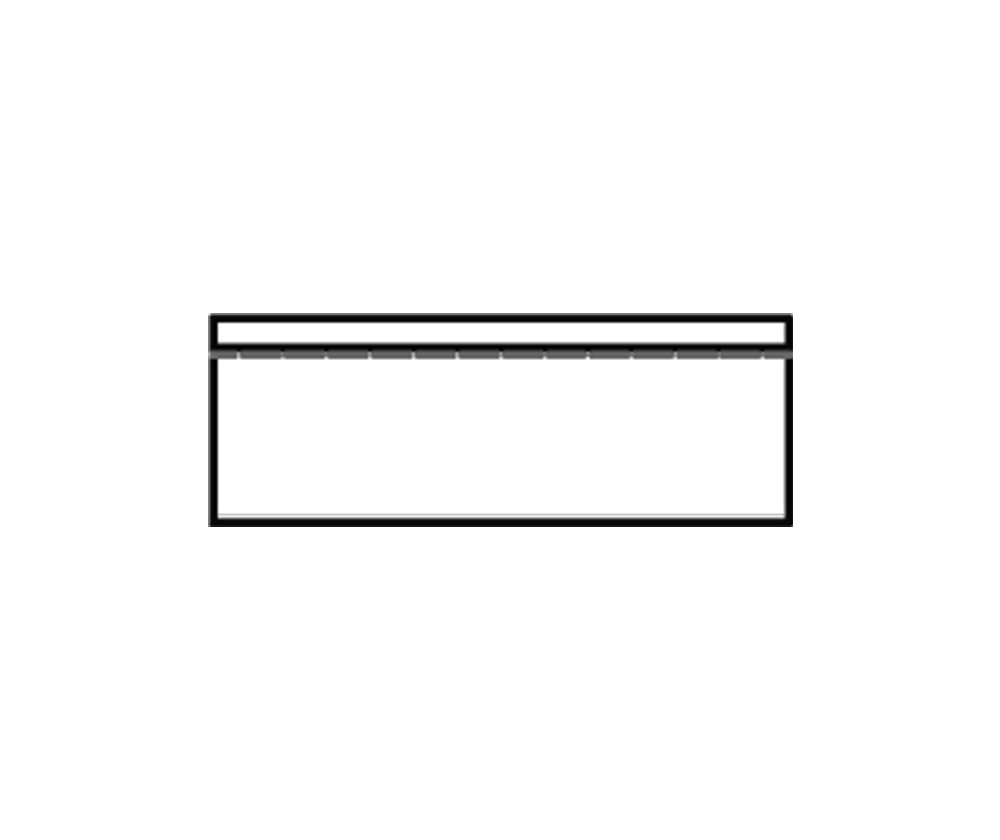
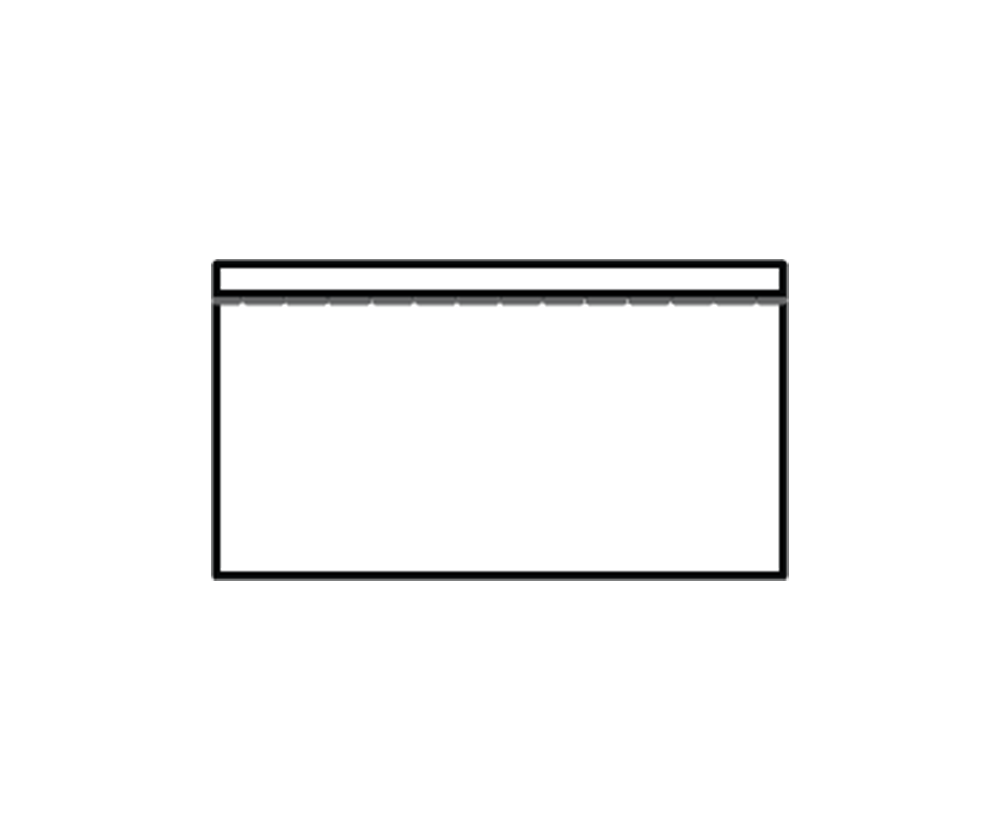
Step 7b. The short drawer fronts are designed to be fitted with the drawer pull positioned either upwards or downwards. The tall drawer front is designed to be installed with the drawer pull on the top side.
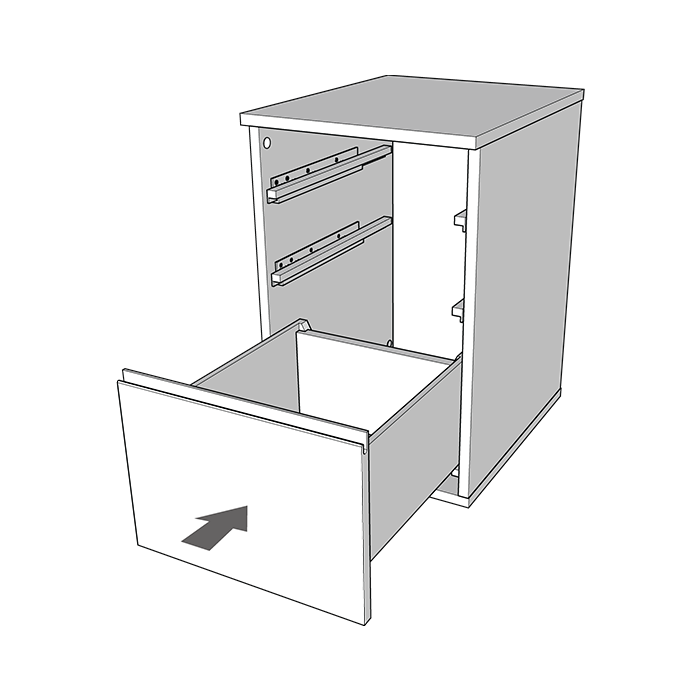
Step 8. Fit the bottom drawer (tall front) by positioning correctly the drawer onto the drawer runners and pushing forward.
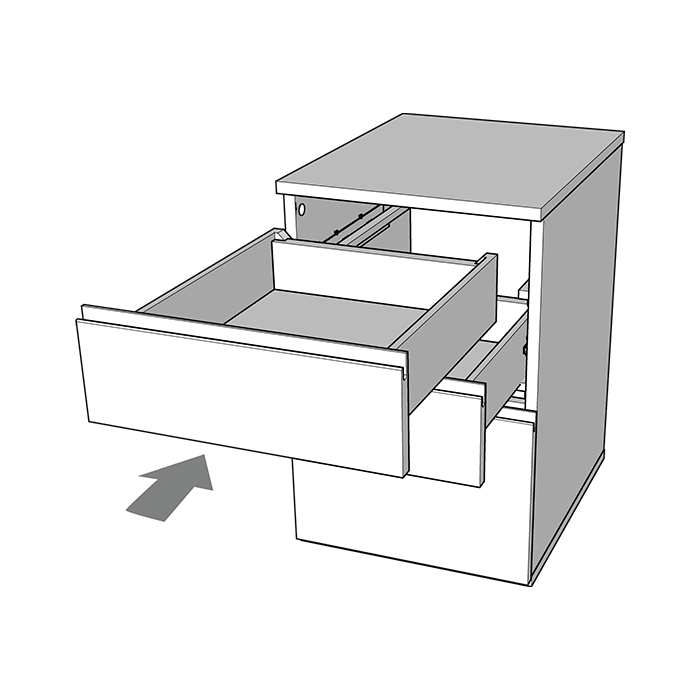
Step 9. Insert all 3 completed drawer assemblies into the cabinet assembly, by positioning correctly each drawer onto the drawer runners and pushing forward.
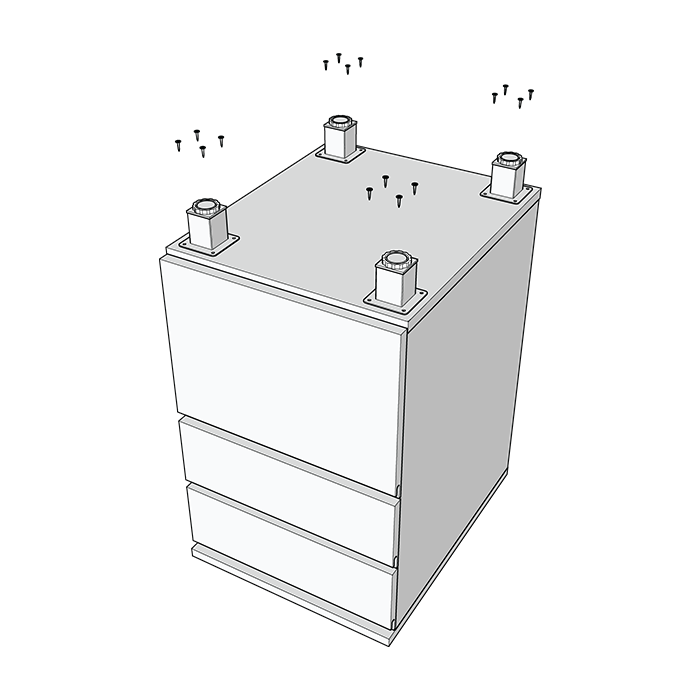
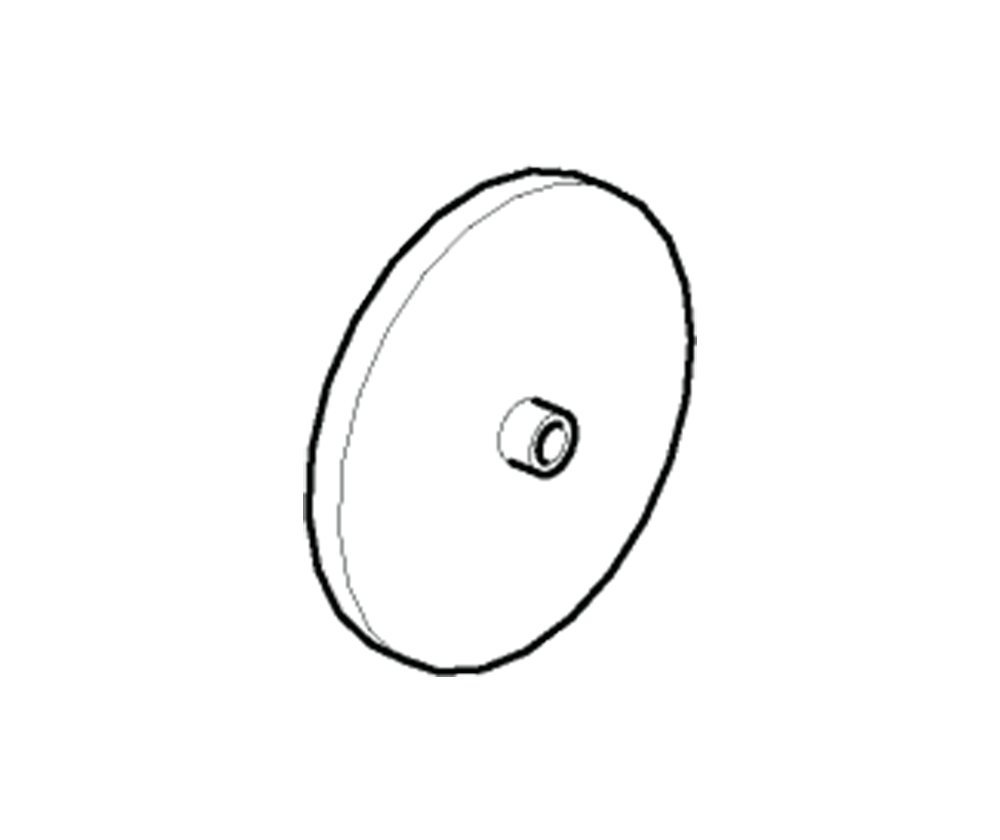
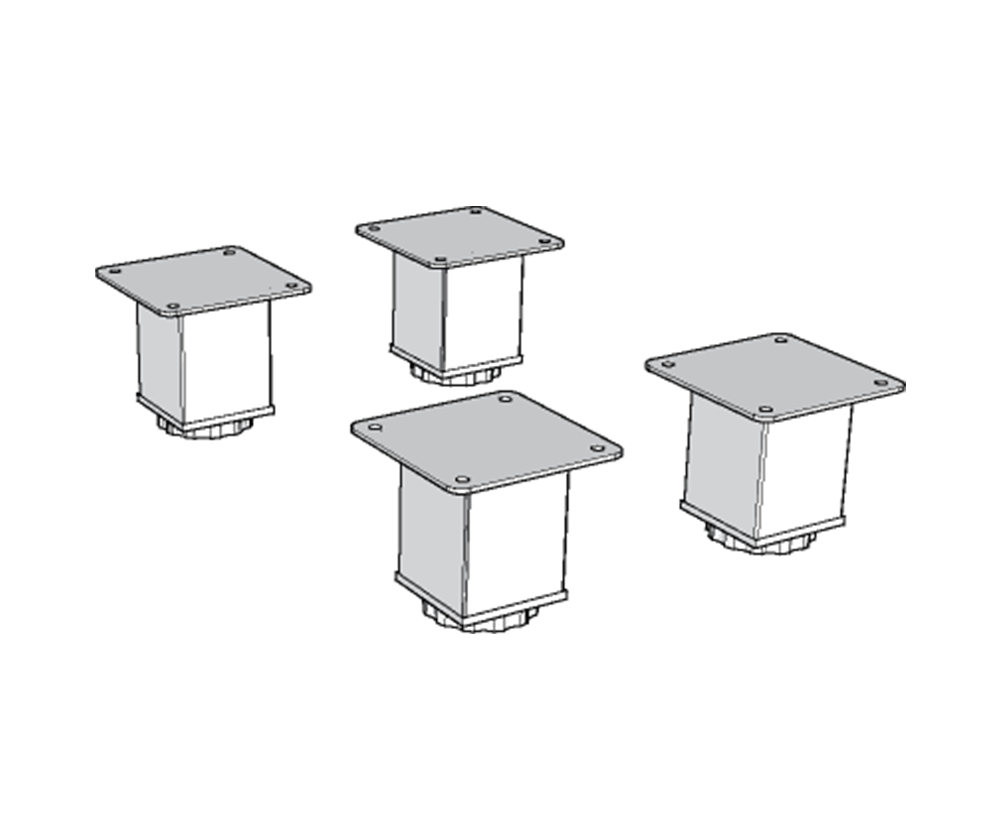
Step 10. Attach the feet at the bottom of the cabinet.
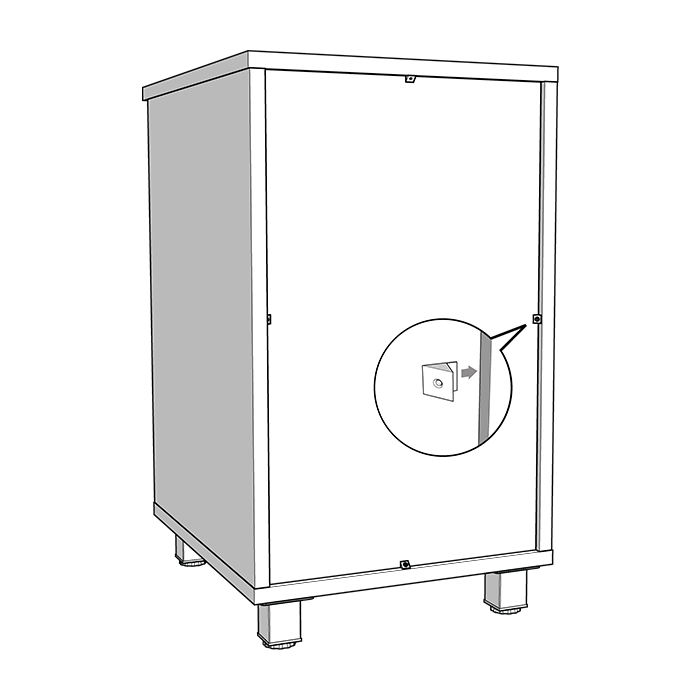
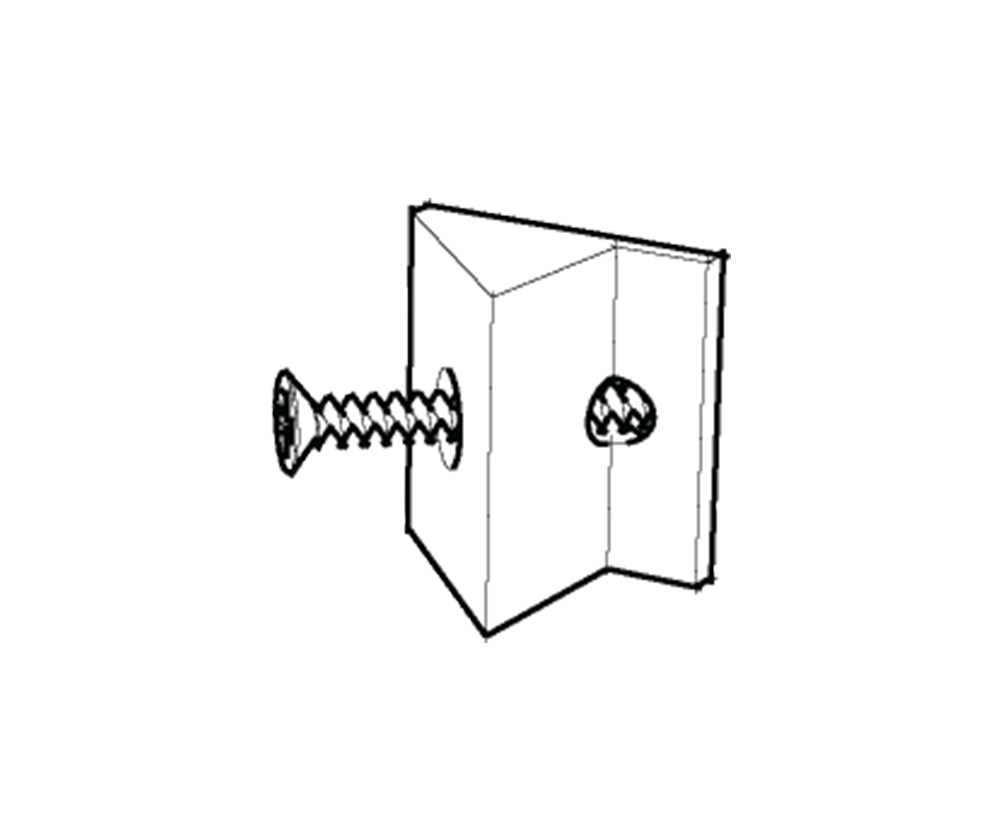
Step 11. Insert the four back panel connectors in the side panel groove and secure them in place by tightening the provided screw. Before tightening make sure there are no gaps between the connector and the inside corner of the back panel and they are evenly distributed as in the above image.
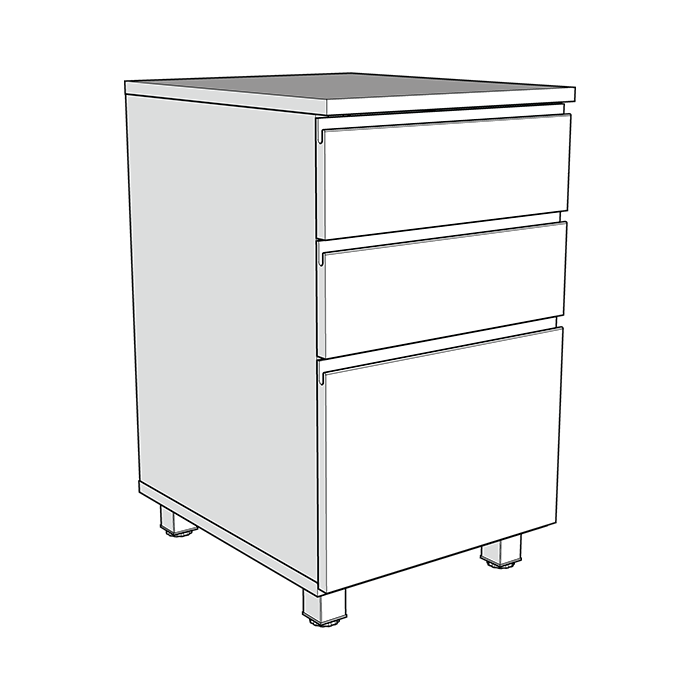
Step 12. Make sure all the drawers are aligned - and open and close correctly. The cabinet is now complete!
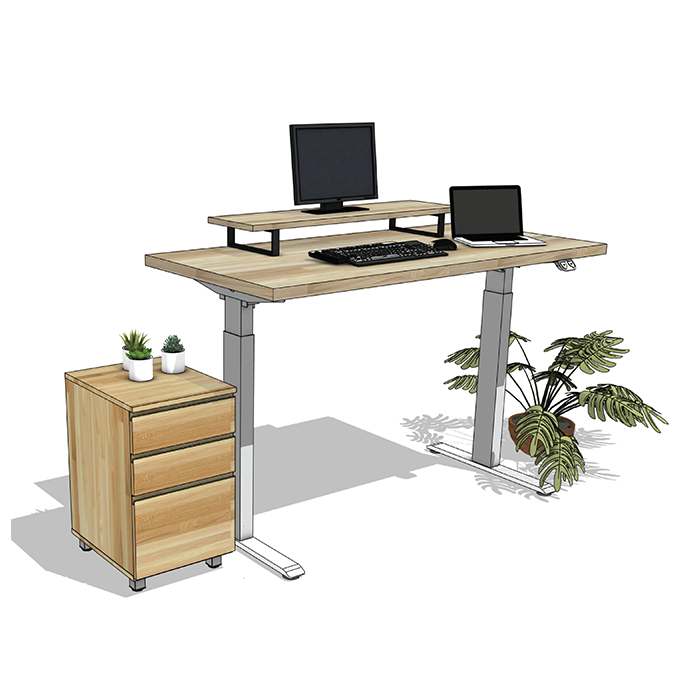
Now, sit back, relax and enjoy your new purchase!
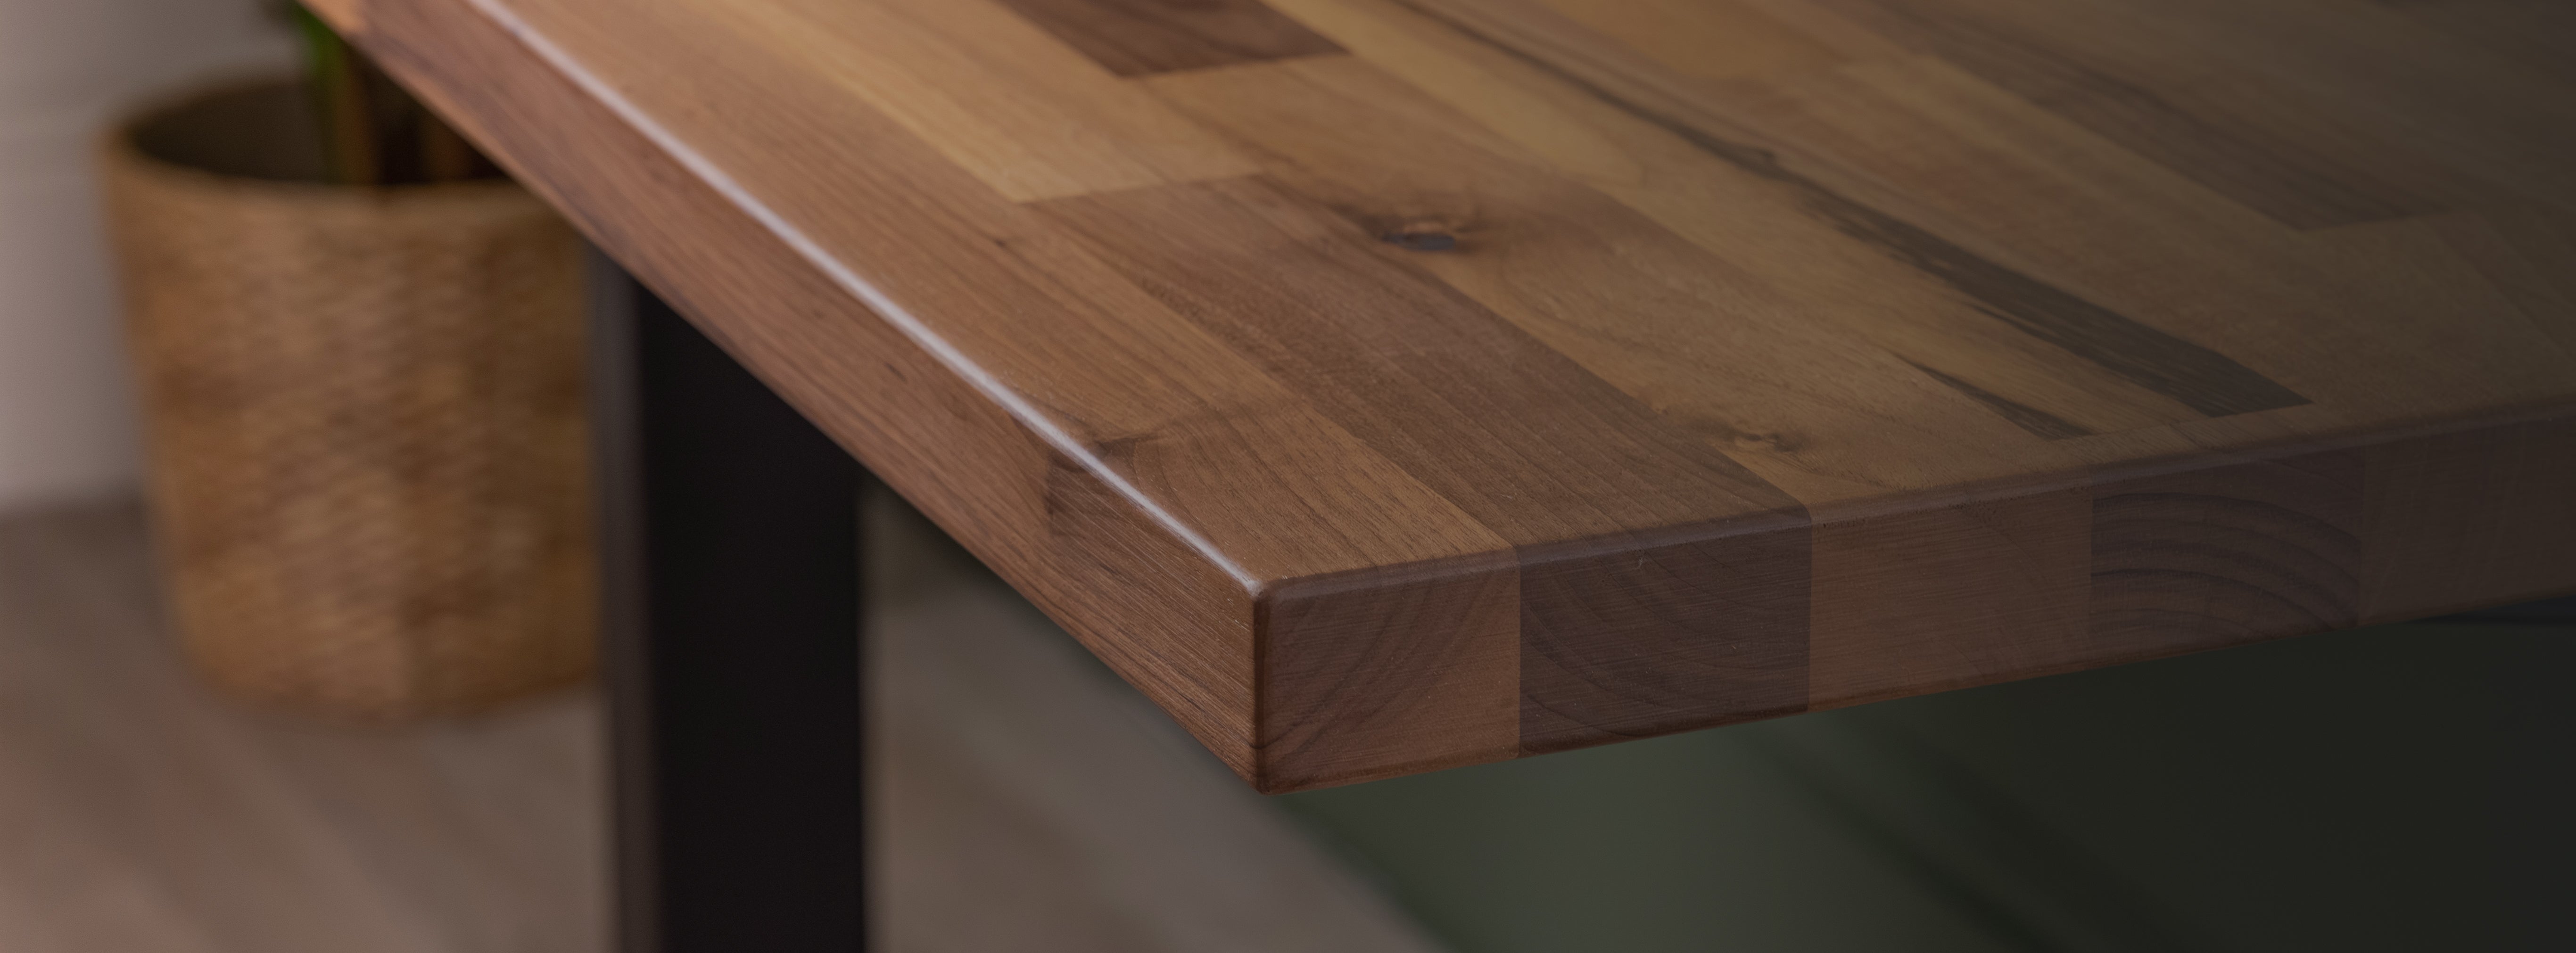
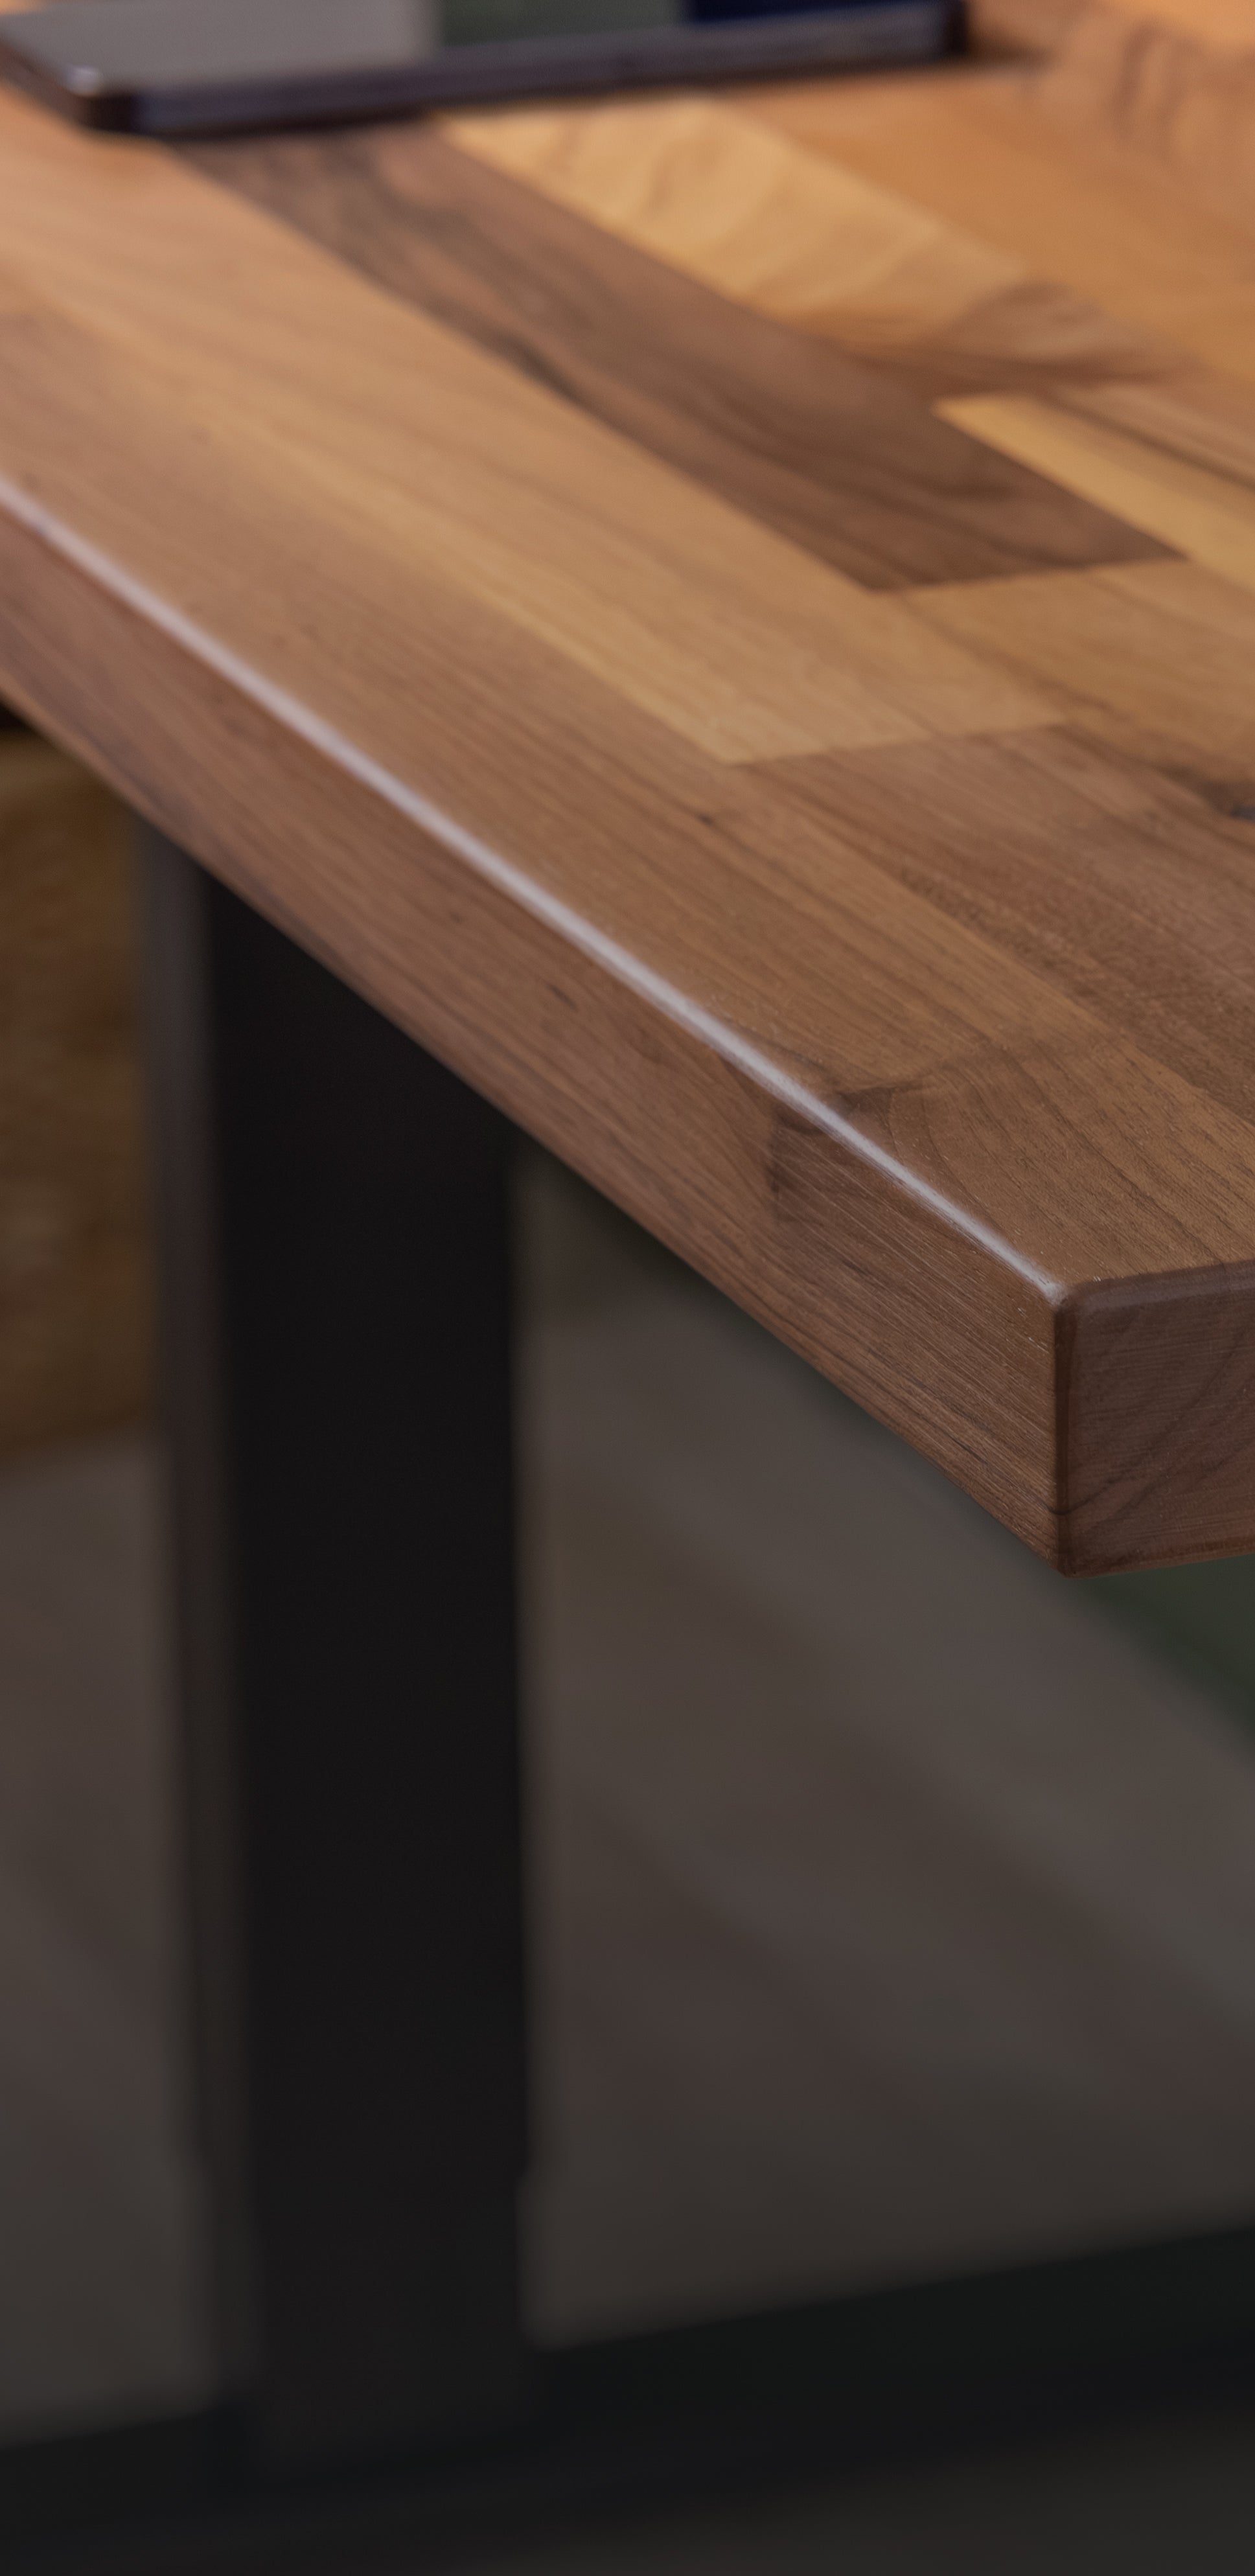
Responsibly sourced, thoughtfully made
We partner with Ecologi to support verified climate projects, including global tree-planting initiatives.
Together with our community of customers, we fund the planting of one tree for every order placed.
Our approach to sustainability is simple: use solid wood responsibly, minimise waste, and make products designed to last - so they don’t need replacing.
Trees funded through domli orders to date
LEARN MOREI absolutely love my sit to stand desk!
"It was a smooth process from browsing through the product choices on the website to using my sit to stand desk at home. I absolutely love my desk. It works great, quiet, very strong, and is really well made of high quality materials."
Great table and good service
"Really easy to order and description detailed and kept informed and quick delivery. Care taken with the delivery and table arrived in perfect condition. Easy to assemble."
Don't go anywhere else !
"I have spent some time looking around at oak worktops and am an avid reader of reviews, Domli had been recommended to me and I couldn't find any other company that could match their prices AND have such great reviews."
Great quality
"Delighted with our oak shelf. Brackets set it off beautifully. It is a piece of furniture in its own right."
Very quick delivery
"Bistro table and oak chair are lovely. Really a quality product built to last at an excellent price. Would highly recommend this company"