Solid Wood Worktop Installation & Care Guide

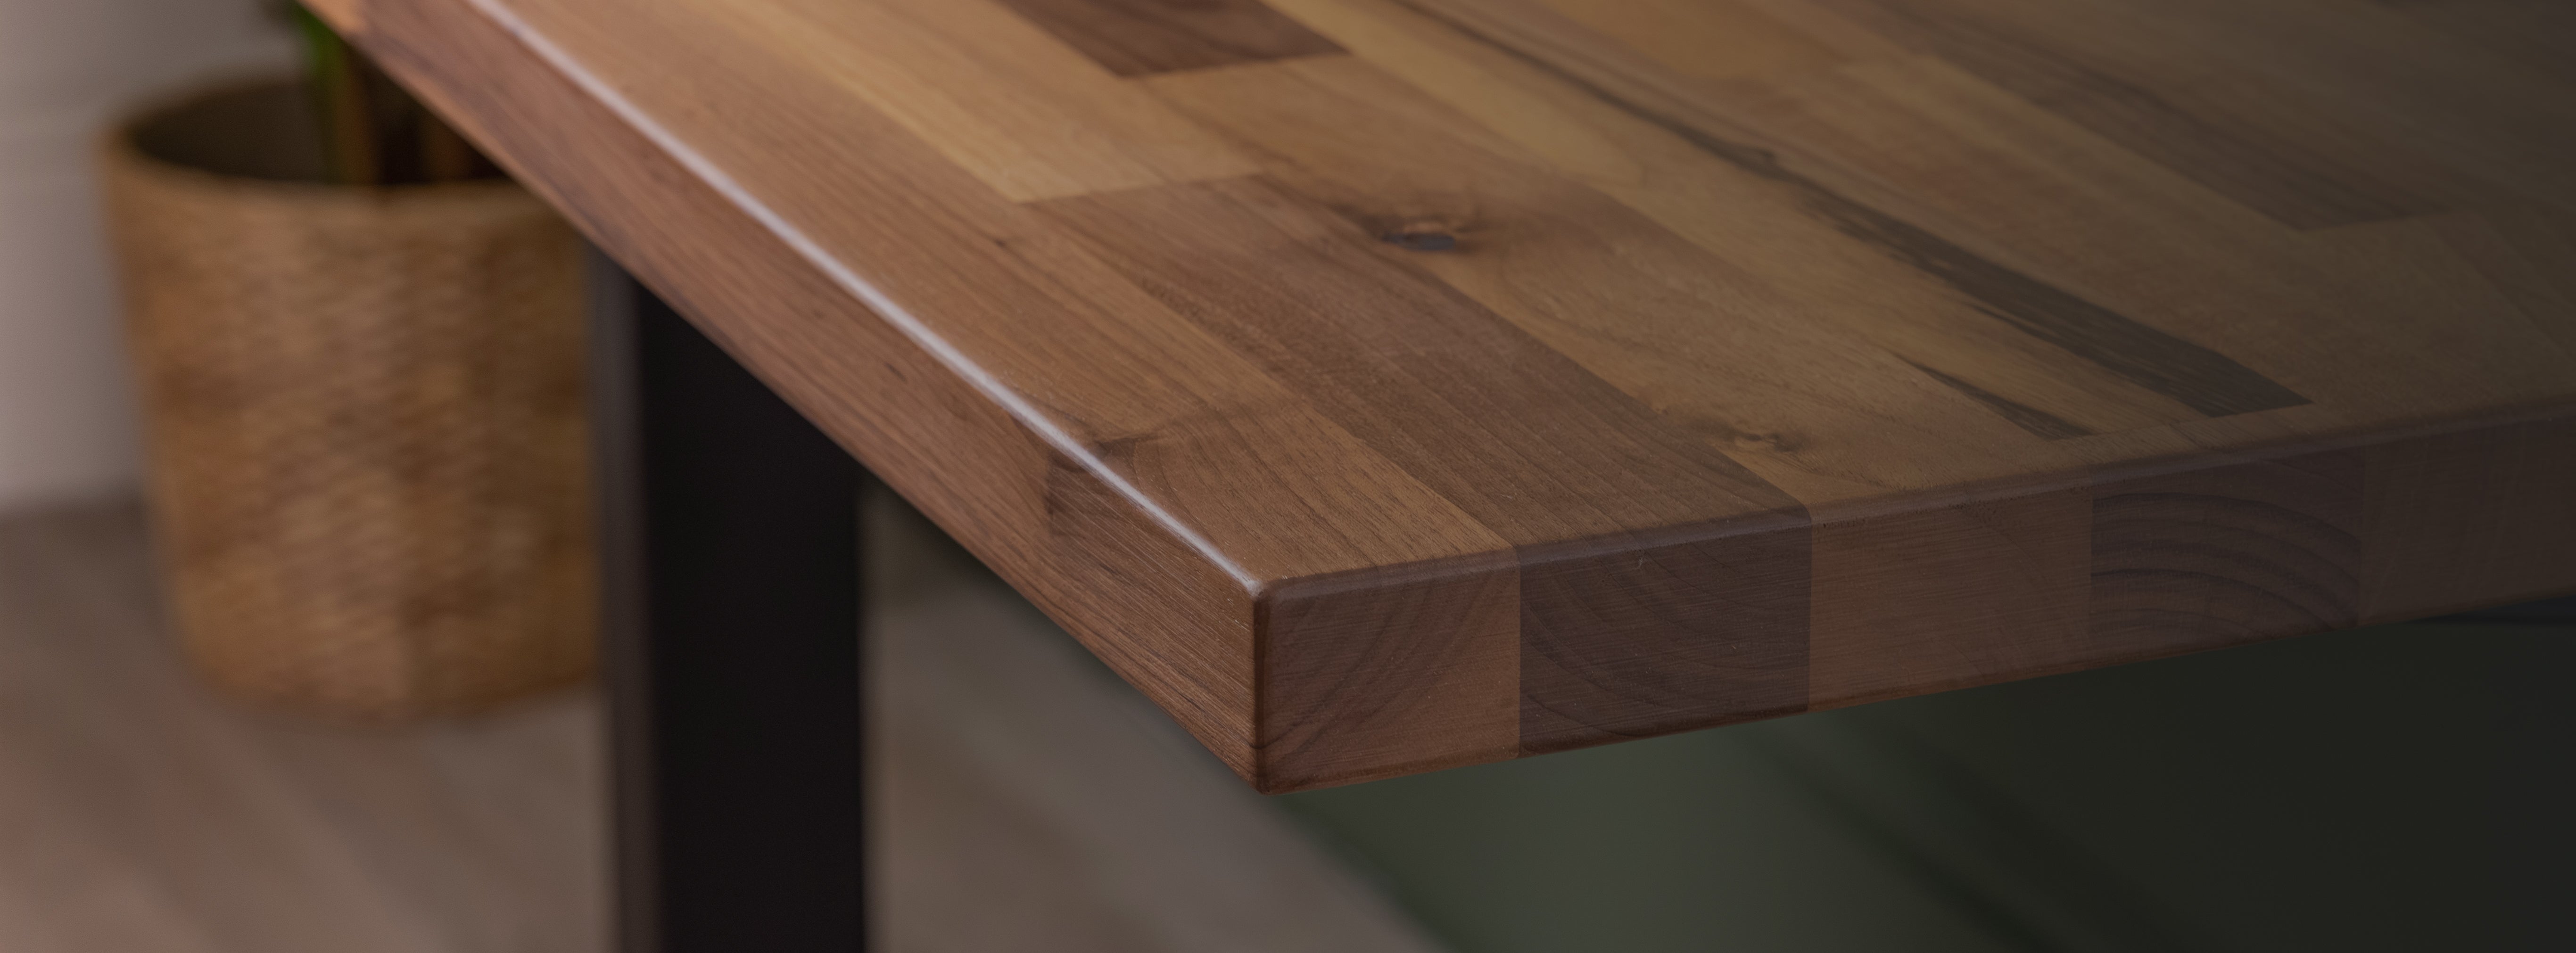
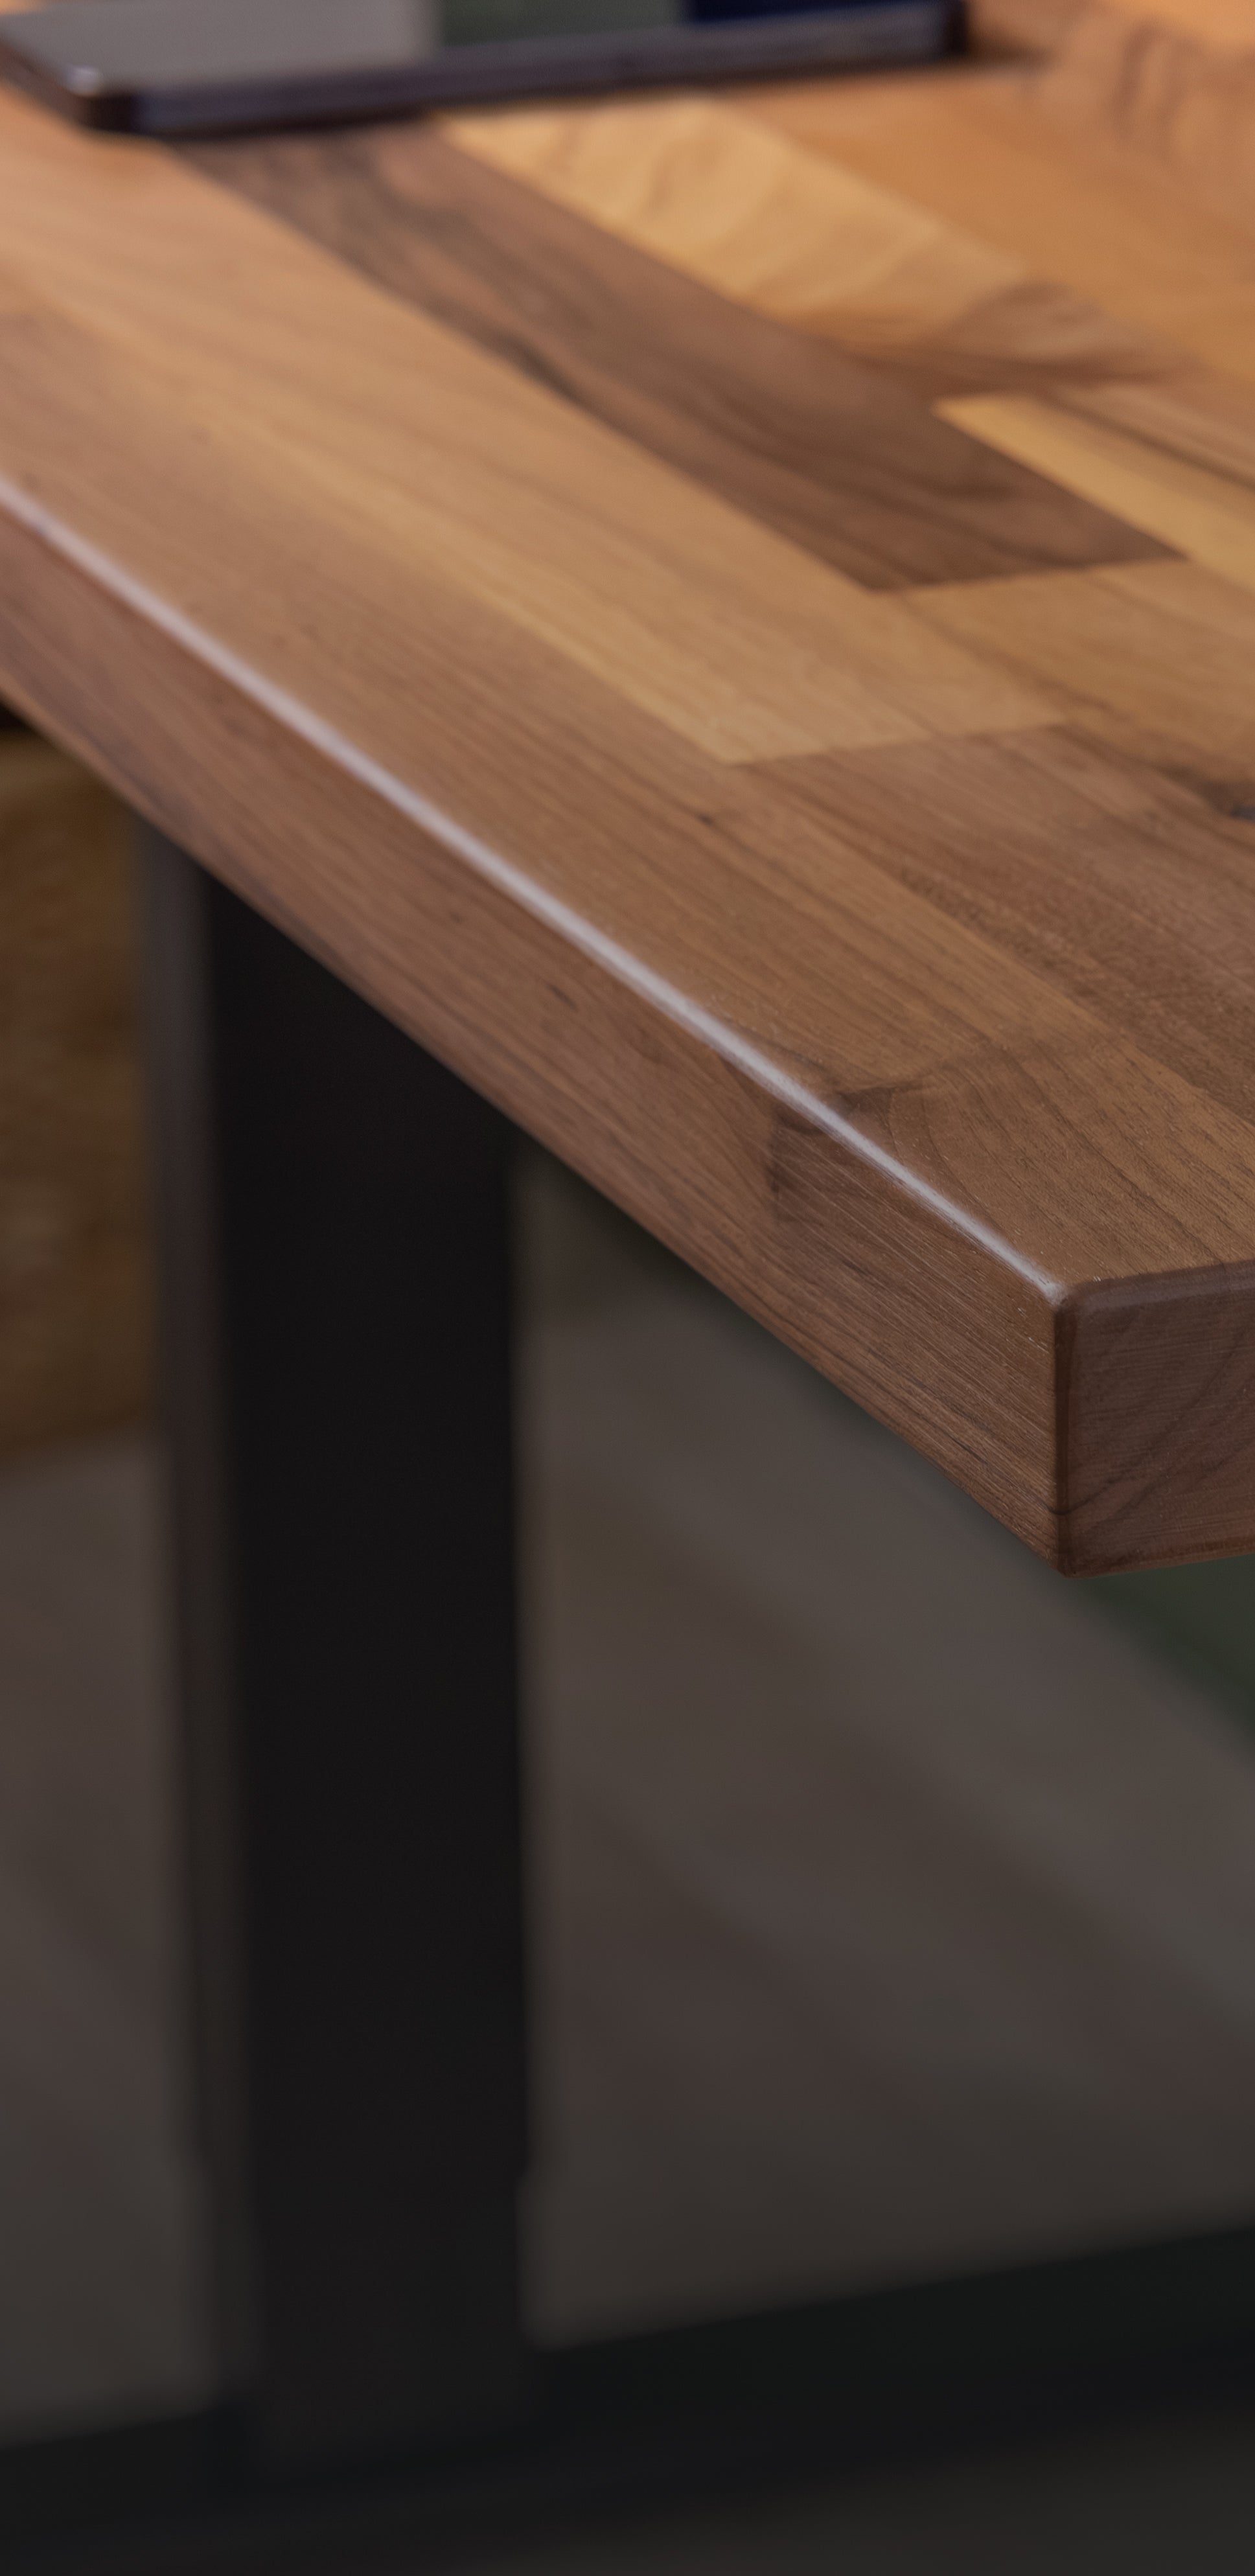
Solid wood is a living material. Changes in temperature and humidity cause it to gently expand and contract over time. When installed and cared for correctly, this natural movement is part of what gives solid wood its enduring character and longevity.

This guide outlines best practice for installing and maintaining your domli solid wood worktop, helping it age beautifully for years to come. Please read the full guide in its entirety before beginning installation, and keep it for future reference.

Note:

Failure to follow these installation instructions may result in movement or damage and will void any applicable warranty.

1. Safety & Handling

2. Before You Begin

3. Installation Guidance

4. Cutting & Routing

5. Sealing & Protection

6. Jointing

7. Fixing Upstands

8. Problem-solving: rare cases of bowing

9. Ongoing Care

10. A Final Note

Safety & Handling

Solid wood worktops are substantial and should be handled with care.

  • Use appropriate protective equipment when cutting, routing, or working with sharp tools or edges
  • Follow the provided instructions carefully to ensure correct installation and use
  • Avoid over-tightening fixings, as this can damage the worktop or compromise stability
  • Inspect the worktop for any defects or damage immediately upon receipt
  • Contact us if you notice any issues before installation or modifying them in any way
  • Do not sit or stand on the worktop
  • Avoid placing excessive weight on the worktop to prevent damage or instability
  • Keep tools, sharp edges, and small components away from children and pets
  • If you are unsure at any stage, consult a professional installer or contact us for guidance

Before You Begin

Storage & environment

Worktops should be installed soon after receipt, ideally within 48-72 hours. Until installation, store your worktop with care:

  • Store worktops flat, on battens and indoors
  • Maintain a stable, dry, indoor environment, ideally similar to the area that it will be installed
  • Never store directly on the floor
  • Separate multiple worktops with battens to allow airflow

Avoid fully unpacking until:

  • All cabinetry is fully installed
  • Wet trades are complete and fully dry
  • Building dust has been cleared
  • Fresh plaster has dried for a minimum of six weeks
Oiling on receipt

Apply three coats of oil to all surfaces of the worktop prior to installation. We recommend Habiol or Osmo. Please follow the manufacturer’s oiling instructions carefully.

  • End grain will absorb more oil and will require additional coats
  • Allow 6–8 hours between coats
  • Wipe away excess oil after 30 minutes

If you have ordered pre-oiled worktops, then only one additional coat of oil is required prior to installation.

Ongoing care:

Oil weekly for the first six weeks. For the remainder of the first year, oil every six months, then once a year thereafter. For full details, please refer to our Wooden Furniture Oiling Guide.

Installation Guidance

Allowing for natural movement

To accommodate expansion and contraction:

  • Maintain a 4 mm gap between the worktop and any adjoining surfaces (for example, walls)
  • Leave a 30 mm clearance from heat sources (such as freestanding ovens), and fit a solid wood end cap to help prevent movement or splitting.
  • Allow a minimum 4 mm overhang beyond the cabinet edge to accommodate natural contraction and expansion.
  • Maximum unsupported overhang: 200 mm
  • Install a moisture barrier on the underside of the worktop above washing machines, dishwashers, and microwaves to protect the surrounding cabinetry and worktop.
Fixing the worktop
  • Note that manufacturers may designate a top “A” surface and an underside “B” surface. Ensure the worktop is fitted the correct way up.
  • Use slotted angle brackets with round-head screws only
  • Pre-drill pilot holes to make installation easier when fixing with slotted brackets
  • Never screw directly into the worktop
  • If cabinets have solid tops, drill oversized holes (8–10 mm) and fix using washers to allow movement
  • Do not use non-slotted cabinet brackets
  • Space fixings evenly along the length of the worktop
  • As a guide, position fixings at approximately 400–600 mm centres, increasing frequency near joints and cut-outs

For masonry or stone surfaces:

  • Never fix directly
  • Use 6–10 mm timber battens with a Damp Proof Membrane (DPM) beneath
  • Maintain airflow to prevent moisture transfer

Cutting & Routing

  • Use supplied templates where available
  • Mark all cuts carefully before proceeding
  • To ensure clean, precise, and safe results, all worktop cut-outs must be carried out on a bench using an appropriate jig and a suitable router. Jigsaws should not be used for this purpose.
  • Ensure joints between worktops sit at least 100 mm away from any sink or appliance cut-outs
  • Position hob cut-outs no closer than 50 mm from the front edge and 60 mm from the back
  • Double-check your measurements before cutting to avoid costly mistakes
  • When routing, work in 10 mm increments
  • Drainer grooves should be completed by an experienced installer

Sealing & Protection

  • Seal all sink cut-outs, tap holes, upstands, and expansion gaps thoroughly with mould-resistant silicone, including the underside
  • Avoid allowing standing water to collect around sinks or taps during and after installation
  • Take additional care with undermount sinks, ensuring all exposed timber is fully sealed and protected
  • Apply heat insulation tape around hob cut-outs before fitting
  • Oil all exposed cut edges thoroughly, applying additional coats as required. Newly cut edges are more absorbent than finished faces and will require additional coats.

Jointing

  • Use three standard worktop bolts per joint
  • Seal end grain with a suitable jointing sealant before assembly
  • Apply sealer again when joints are fully tightened
  • Only butt joints should be used with wooden worktops

Fixing Upstands

As outlined in the guidance on movement allowances, leave a 4 mm expansion gap between the rear edge of the worktop and the wall. This clearance is typically concealed using tiles, splashbacks, or an upstand.

  • Allow a 4 mm expansion gap between the back edge of the worktop and the wall.
  • Wooden upstands should be fixed directly to the wall, not to the worktop.
  • Cut the upstand to length, allowing a 4 mm expansion gap at each end.
  • Secure the upstand using a water-resistant silicone adhesive.
  • Once set, seal the joint between the upstand and the worktop to protect against moisture.

Problem-solving: rare cases of bowing

If a solid wood worktop shows signs of bowing or cupping before installation, it will need to be handled using an adjusted fitting method, and in some cases reworked after initial installation. This is unusual, but can happen as a result of extended or improper storage, or imbalanced moisture conditions on site.

What to do:

  • Pause installation. Do not force the worktop flat during fitting, as this can introduce stress and lead to cracking or joint failure.
  • Check site conditions. Ensure the space is dry, heated, and well ventilated, with stable moisture levels.
  • Allow the worktop to acclimatise. Lay it flat with full support and airflow to both faces for several days before fitting.
  • Fix the rear edge first. Secure the length of the rear of the worktop to the supporting base units, using fixings that allow for natural movement, such as slotted brackets.
  • Pull the worktop down gradually. Using straight battens and clamps, carefully and evenly draw the worktop down into position. Avoid sudden or uneven pressure.
  • Secure the front edge last. Once aligned, screw down the front edge of the worktop, ensuring fixings are not over-tightened.
  • Allow time for recovery. Bowed or cupped worktops can take up to two weeks to fully return to a flat profile.

Ongoing Care

Solid wood rewards regular, light maintenance. For full guidance, please refer to our Product Care & Maintenance Guide.

A Final Note

Solid wood will develop character over time. Subtle movement, tonal variation, and gentle wear are signs of an honest material used as intended - and part of what makes each domli piece uniquely yours.

If you need advice at any stage, our team is always happy to help.

Inspect the worktop for any defects or damage immediately upon receipt. Contact us if you notice any issues before installation or modifying them in any way

Failure to follow these installation instructions may result in movement or damage and will void any applicable warranty.

Close-up of a solid wood desktop edge, showing the natural grain and smooth edge detail.

Responsibly sourced, thoughtfully made

We partner with Ecologi to support verified climate projects, including global tree-planting initiatives.

Together with our community of customers, we fund the planting of one tree for every order placed.

Our approach to sustainability is simple: use solid wood responsibly, minimise waste, and make products designed to last - so they don’t need replacing.

Trees funded through domli orders to date

LEARN MORE

I absolutely love my sit to stand desk!

"It was a smooth process from browsing through the product choices on the website to using my sit to stand desk at home. I absolutely love my desk. It works great, quiet, very strong, and is really well made of high quality materials."

Great table and good service

"Really easy to order and description detailed and kept informed and quick delivery. Care taken with the delivery and table arrived in perfect condition. Easy to assemble."

Don't go anywhere else !

"I have spent some time looking around at oak worktops and am an avid reader of reviews, Domli had been recommended to me and I couldn't find any other company that could match their prices AND have such great reviews."

Great quality

"Delighted with our oak shelf. Brackets set it off beautifully. It is a piece of furniture in its own right."

Very quick delivery

"Bistro table and oak chair are lovely. Really a quality product built to last at an excellent price. Would highly recommend this company"

domli designed in the UK badge

Designed In The UK

Designed and developed in the UK

domli responsibly sourced badge

Responsibly sourced wood

From sustainably managed sources

domli built to last badge

Made to last

Made for everyday life

domli dependable delivery badge

Dependable delivery

Delivered within 1–3 working days